5 Key Insights for Better Dune Photos
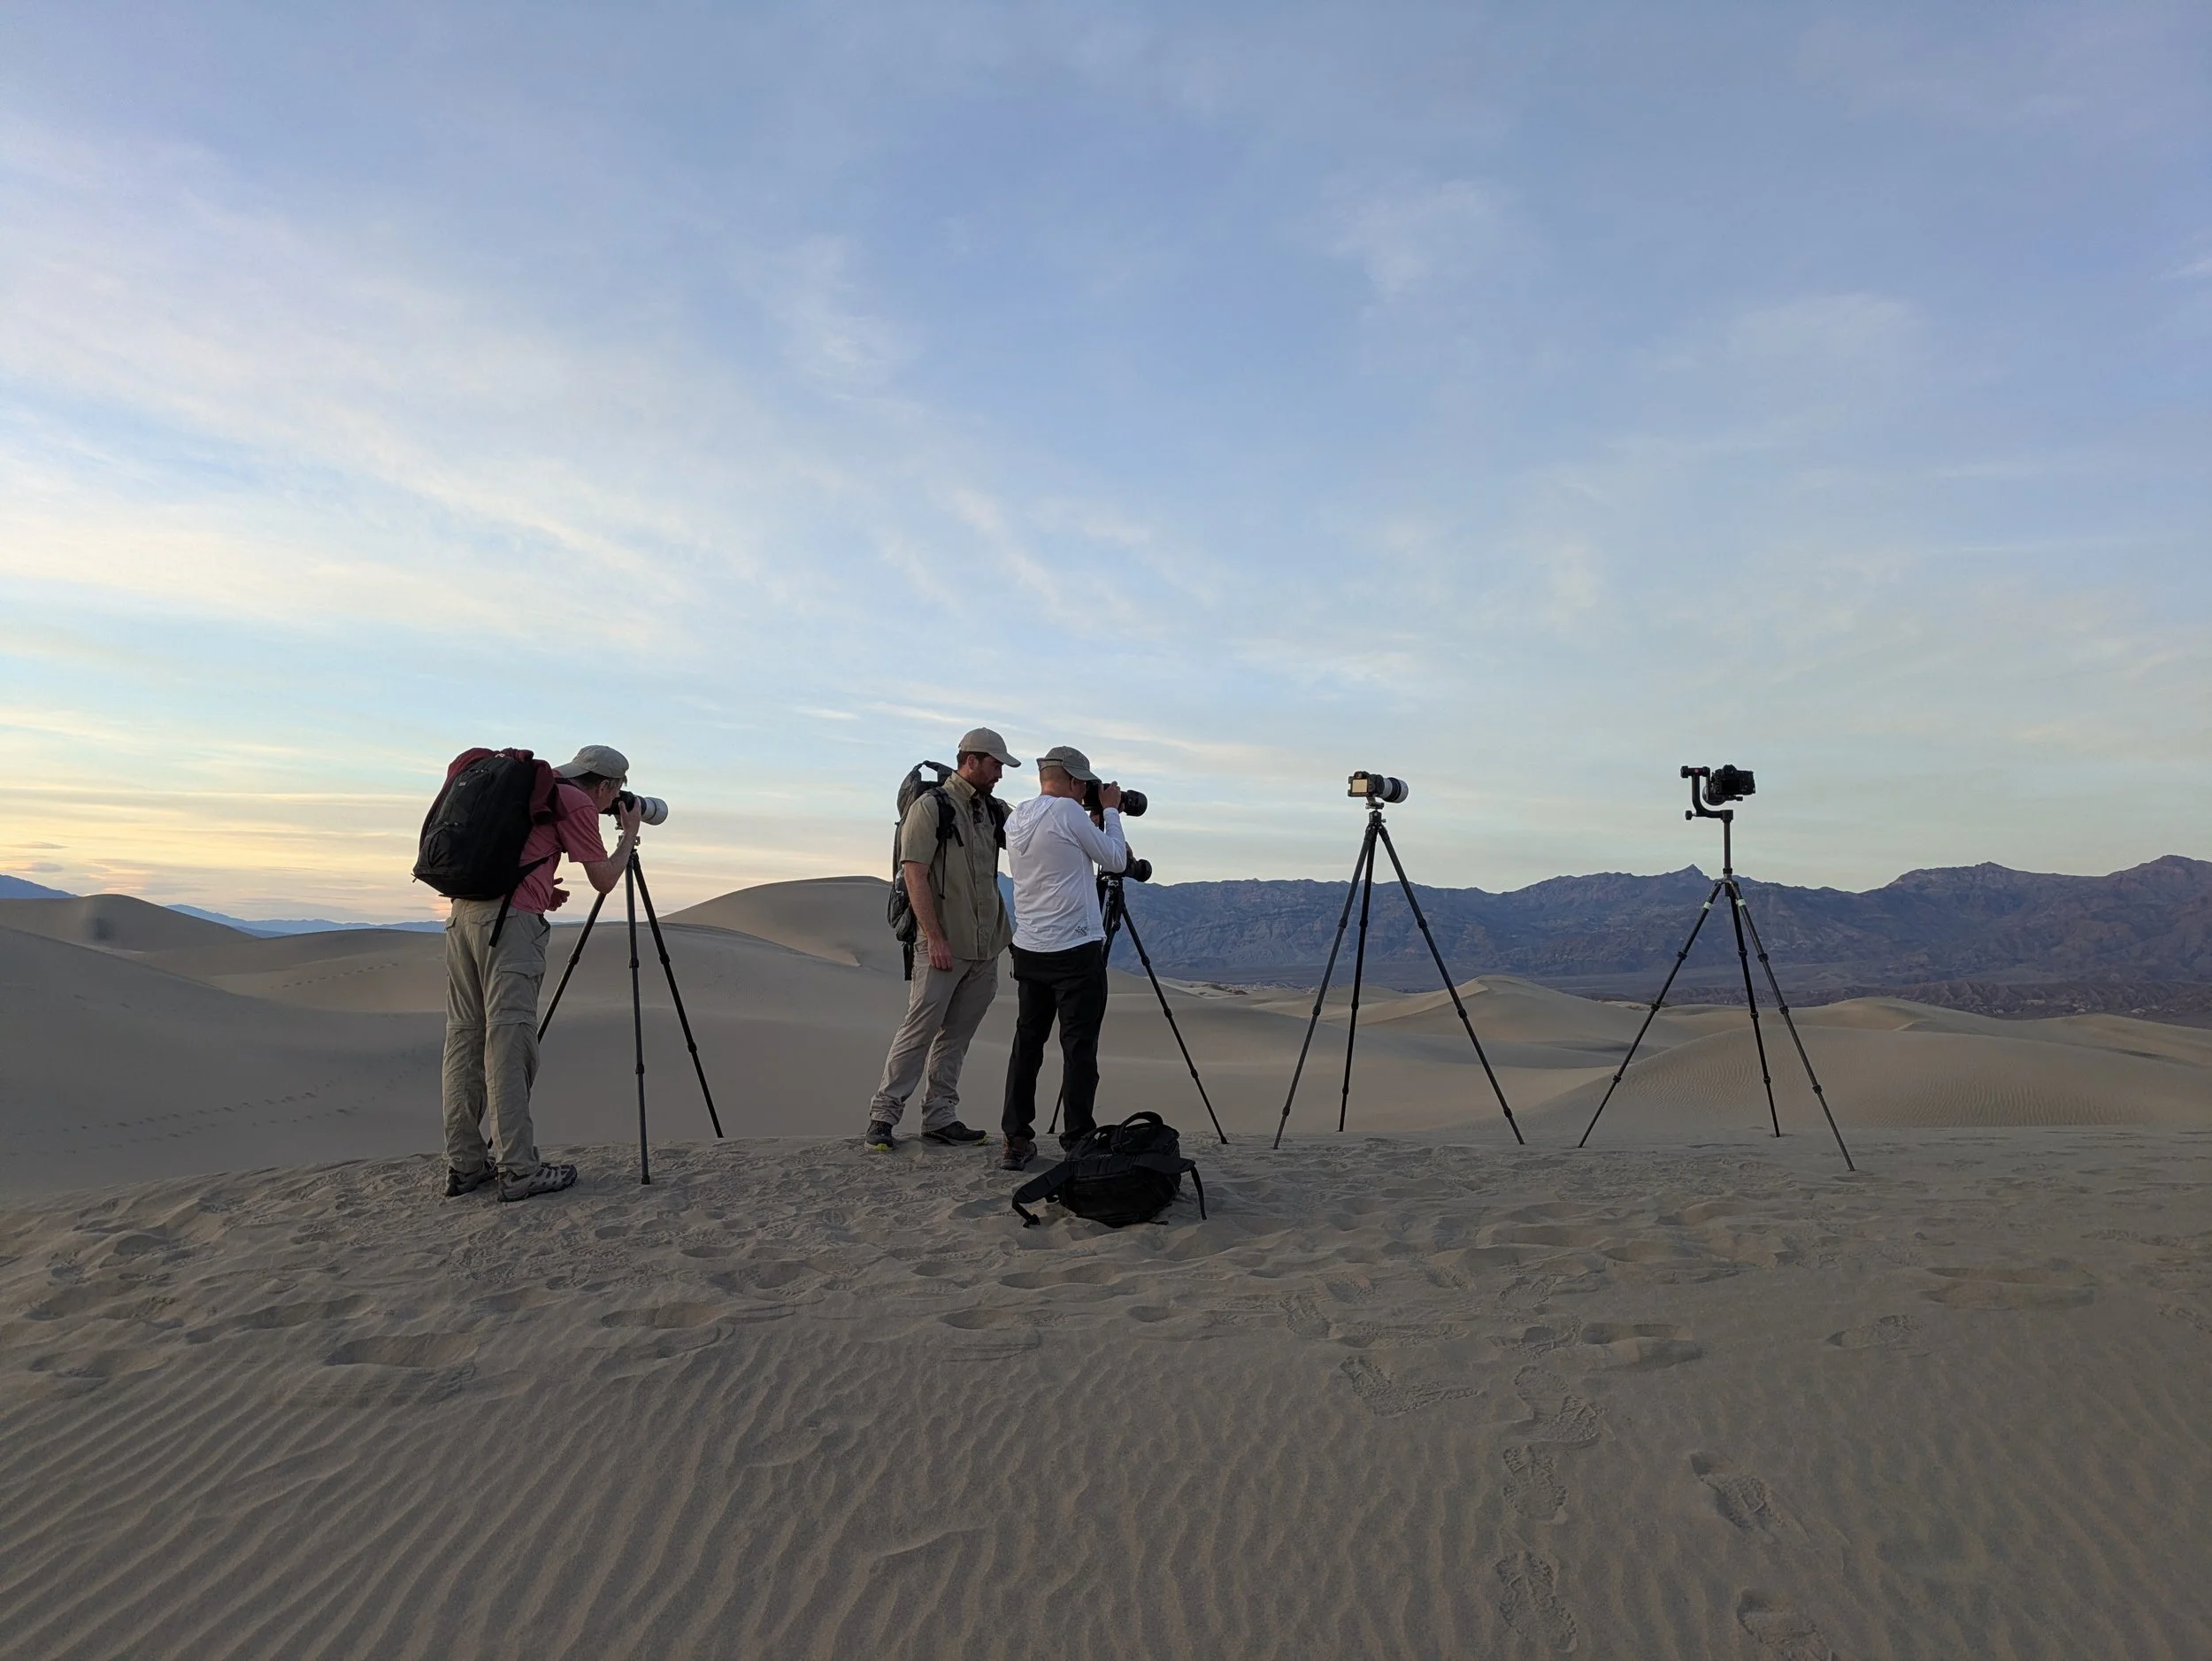
Teaching clients how to use telephoto lenses while stood on a dune ridge in Death Valley National Park
Eighteen straight days of sunrises and sunsets on glistening piles of sand in White Sands National Park and Death Valley National Park, including co-leading a workshop with the Nature Photography Collective and Nathan St. Andre. I explored far and wide, from Ibex to Eureka, fully immersing myself in these remote desert environments. That was my February/March trip to the US: intense, exhilarating, and peaceful all at once. It was the first time I had spent any significant continuous time making photographs of dunes. What did I learn from this experience? This blog post shares 5 actionable takeaways for landscape and nature photographers interested in improving their photographs of dunes.
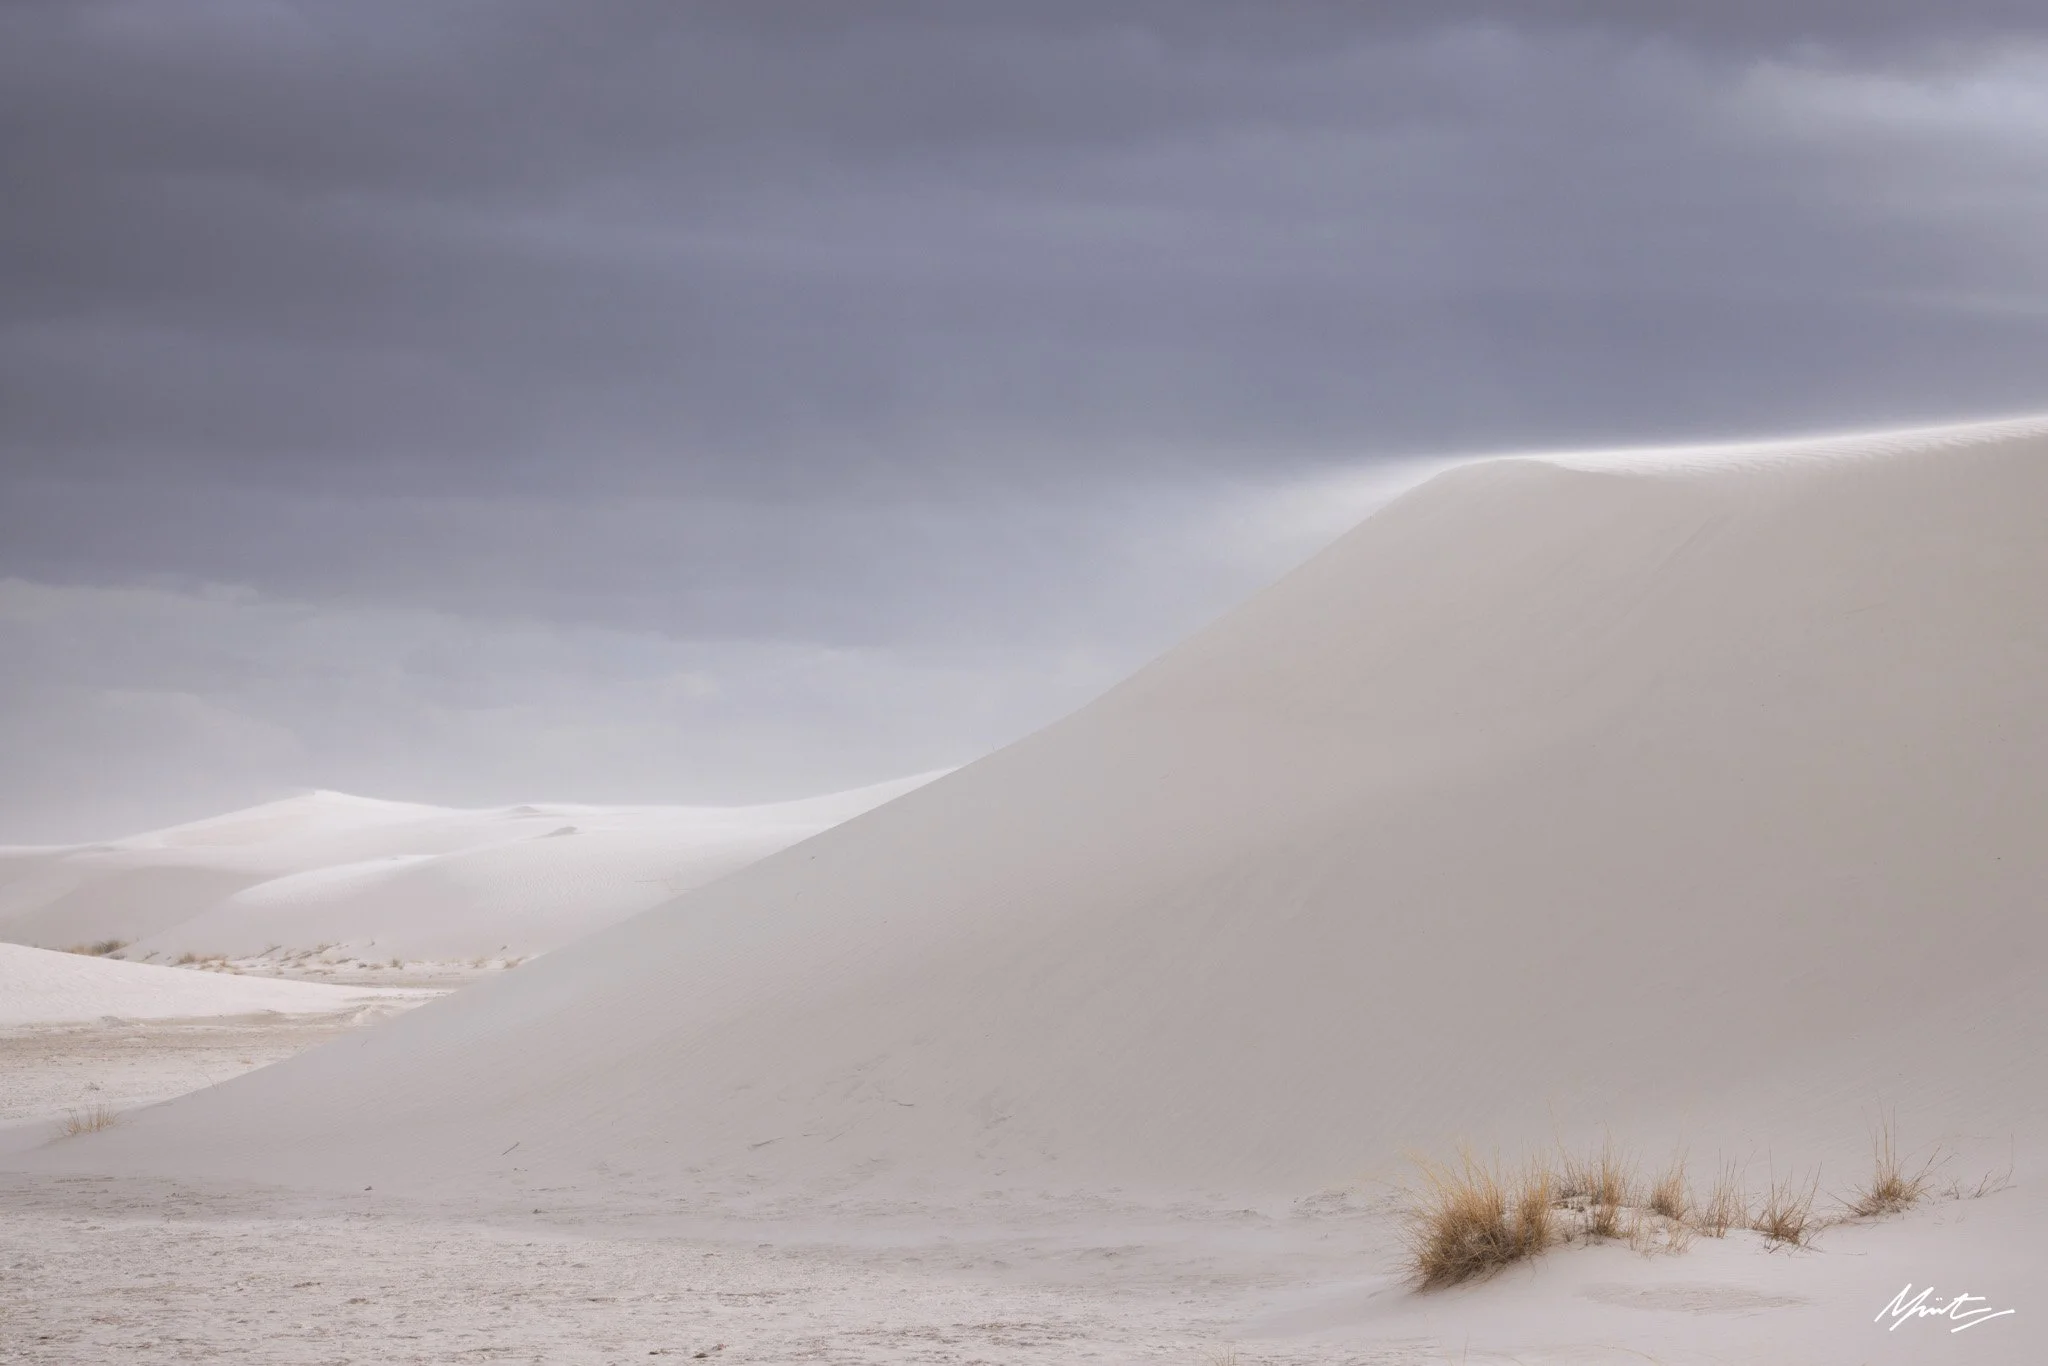
Windblown Ridge in White Sands, @100mm
1) The Telephoto Lens May Be King, But Wide-Angles Are Still Queen
My first three days in the US were spent in White Sands. It was extremely windy, with the surrounding Organ Mountains obscured from view by dust much of the time. So, before leaving for the dunes, I had to choose a lens — there would be no good way to swap once in the sand-blown chaos. Two camera bodies may be a good solution for this problem, but it’s not something that I carry, especially on long-haul international trips like this. My instincts were for my telephoto lens (Canon RF 100-500mm), so I spent three days with that glued to my camera capturing the incredible layers and textures of the rolling dunes. Each evening, on the walk back out to the car during twilight, me and Brie Stockwell would stride by stunning groupings of Yuccas with pink skies and gorgeous clouds, calling out to be photographed with a more normal-wide focal range. However, a combination of White Sands having moderately restrictive visiting times (but that’s a whole topic unto itself) and the very windy conditions made it infeasible to stop and spend the time needed to do these subjects justice. I resolved to come back in the future and put my 24-105mm lens on for the entire day. White Sands in particular has a fantastic array of foreground subjects in its hardened gypsum sand formations, all of which create brilliant patterns and lines. Of course, it’s still possible to photograph these with the longer lens, but having made a few test images on my phone, I see rich potential for a wider lens here too.
I wasn’t without a redemption opportunity, however. Significantly calmer conditions in Death Valley meant that swapping lenses out in the dunes became possible which ultimately resulted in a few of my favourite frames from the trip. Getting deep into the dunes mattered, as with the wider focal length you need significant features (big tall dunes and a detailed foreground) relatively close to the lens or else they lose their sense of presence.
Eureka Dunes, Death Valley, @24mm
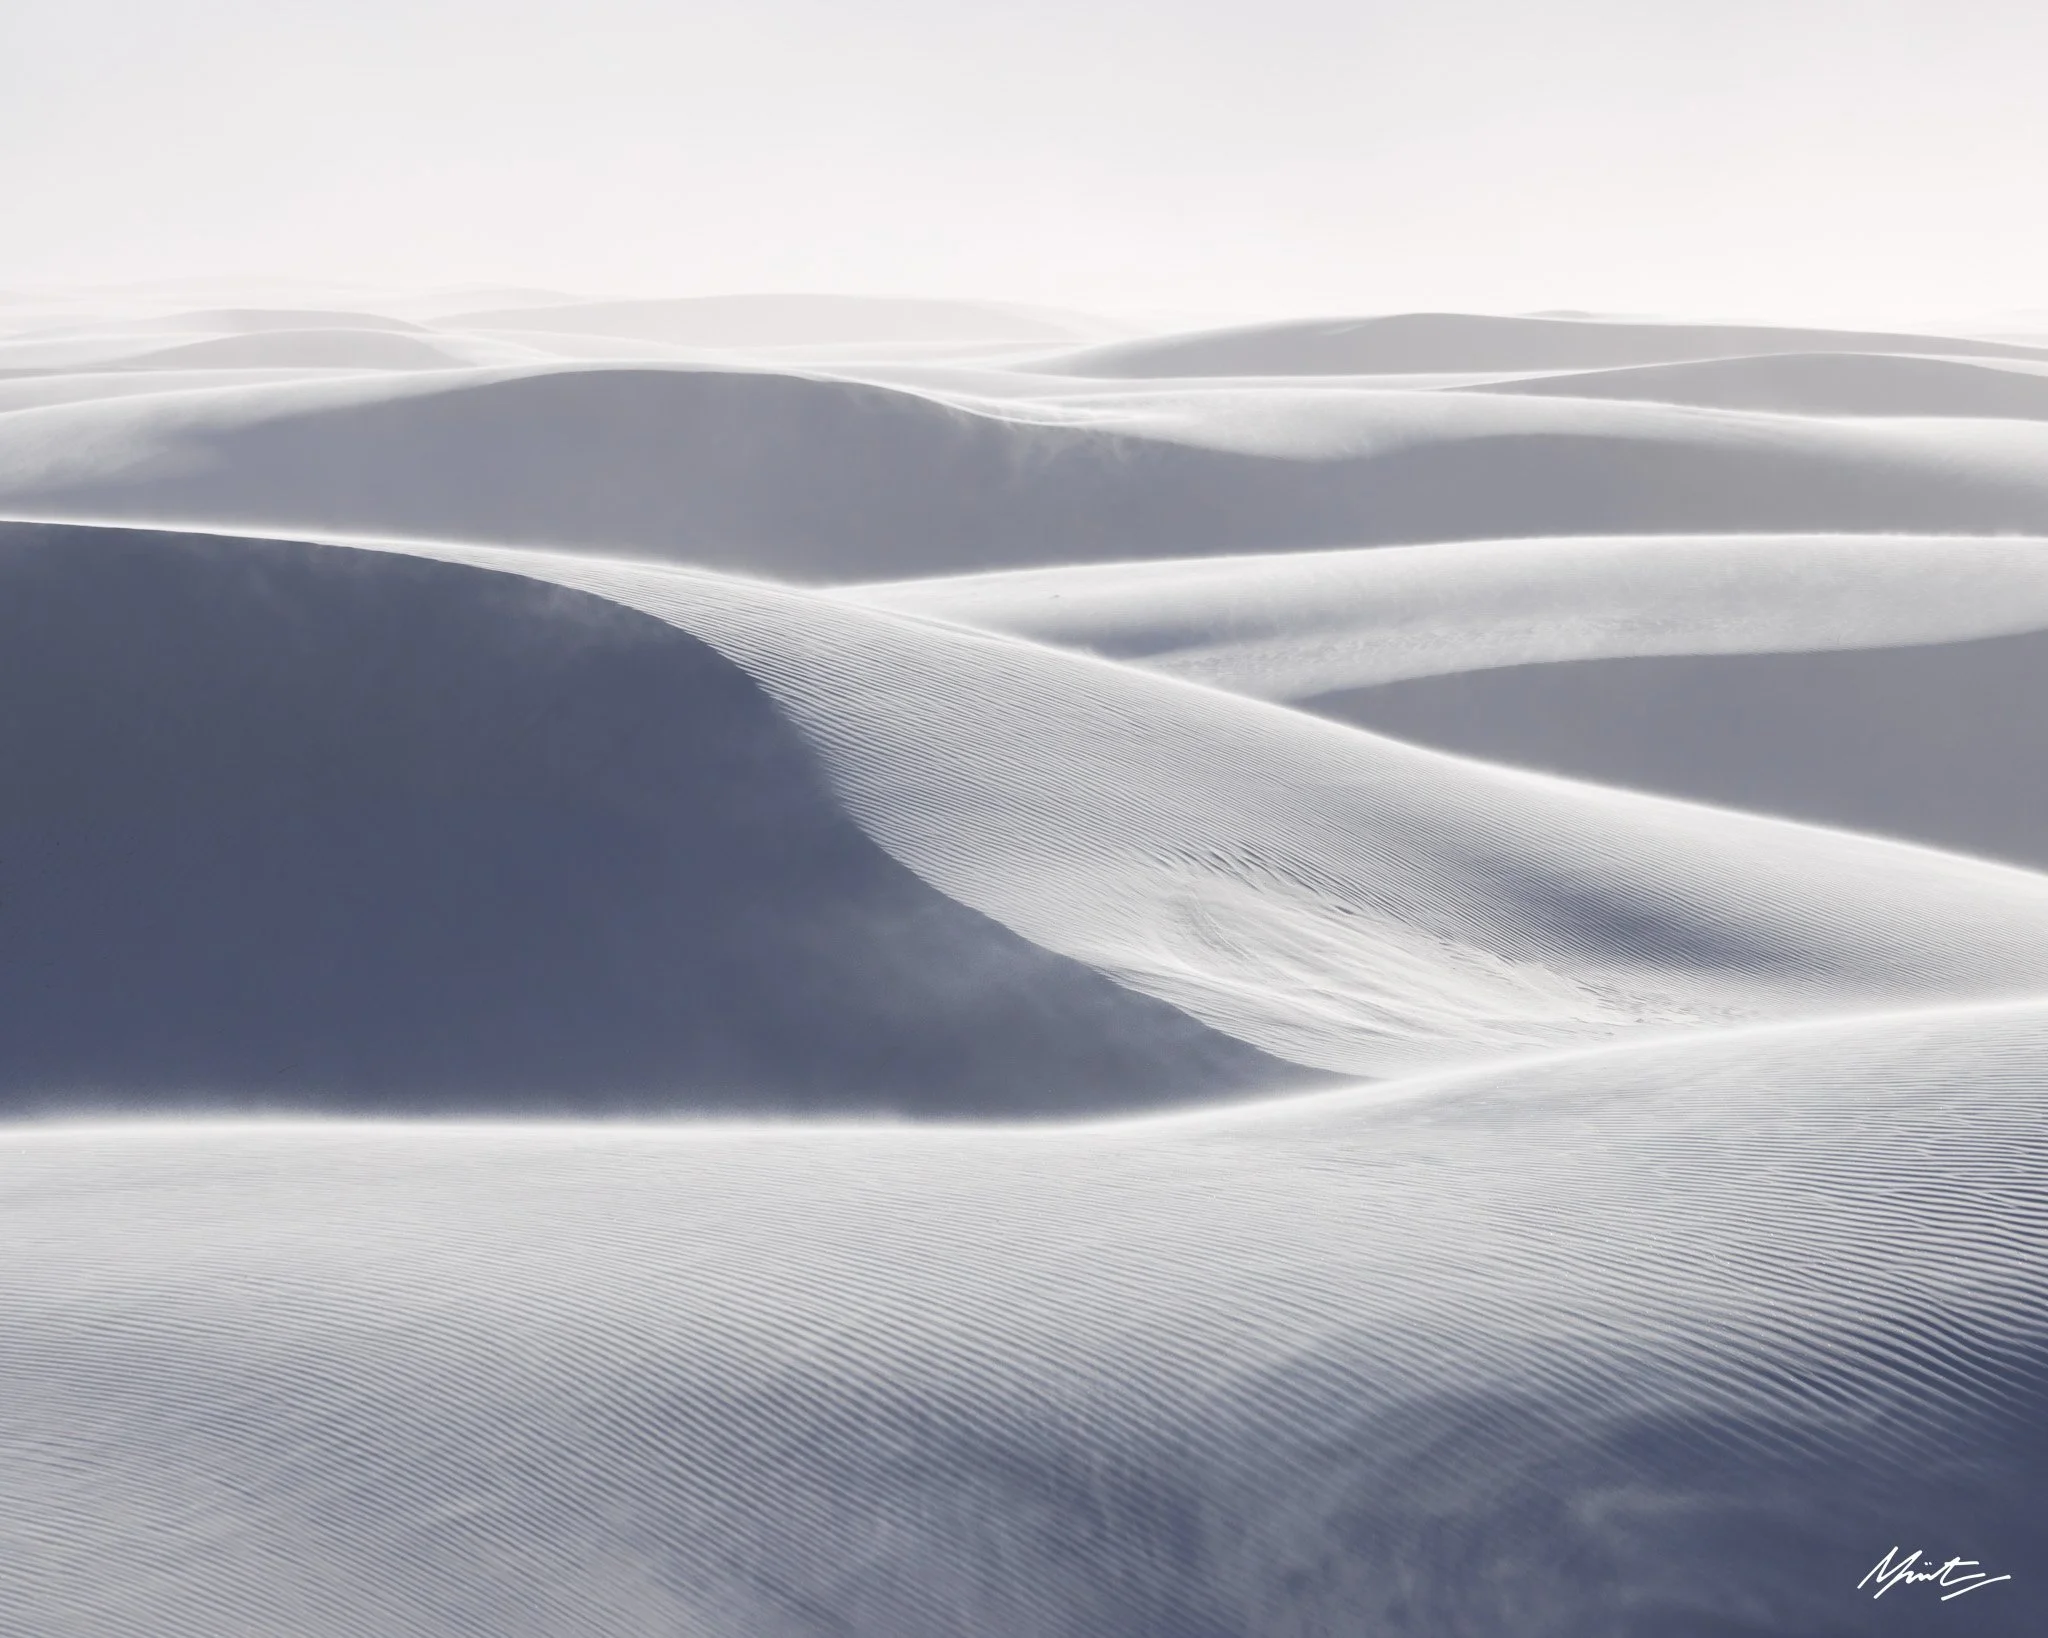
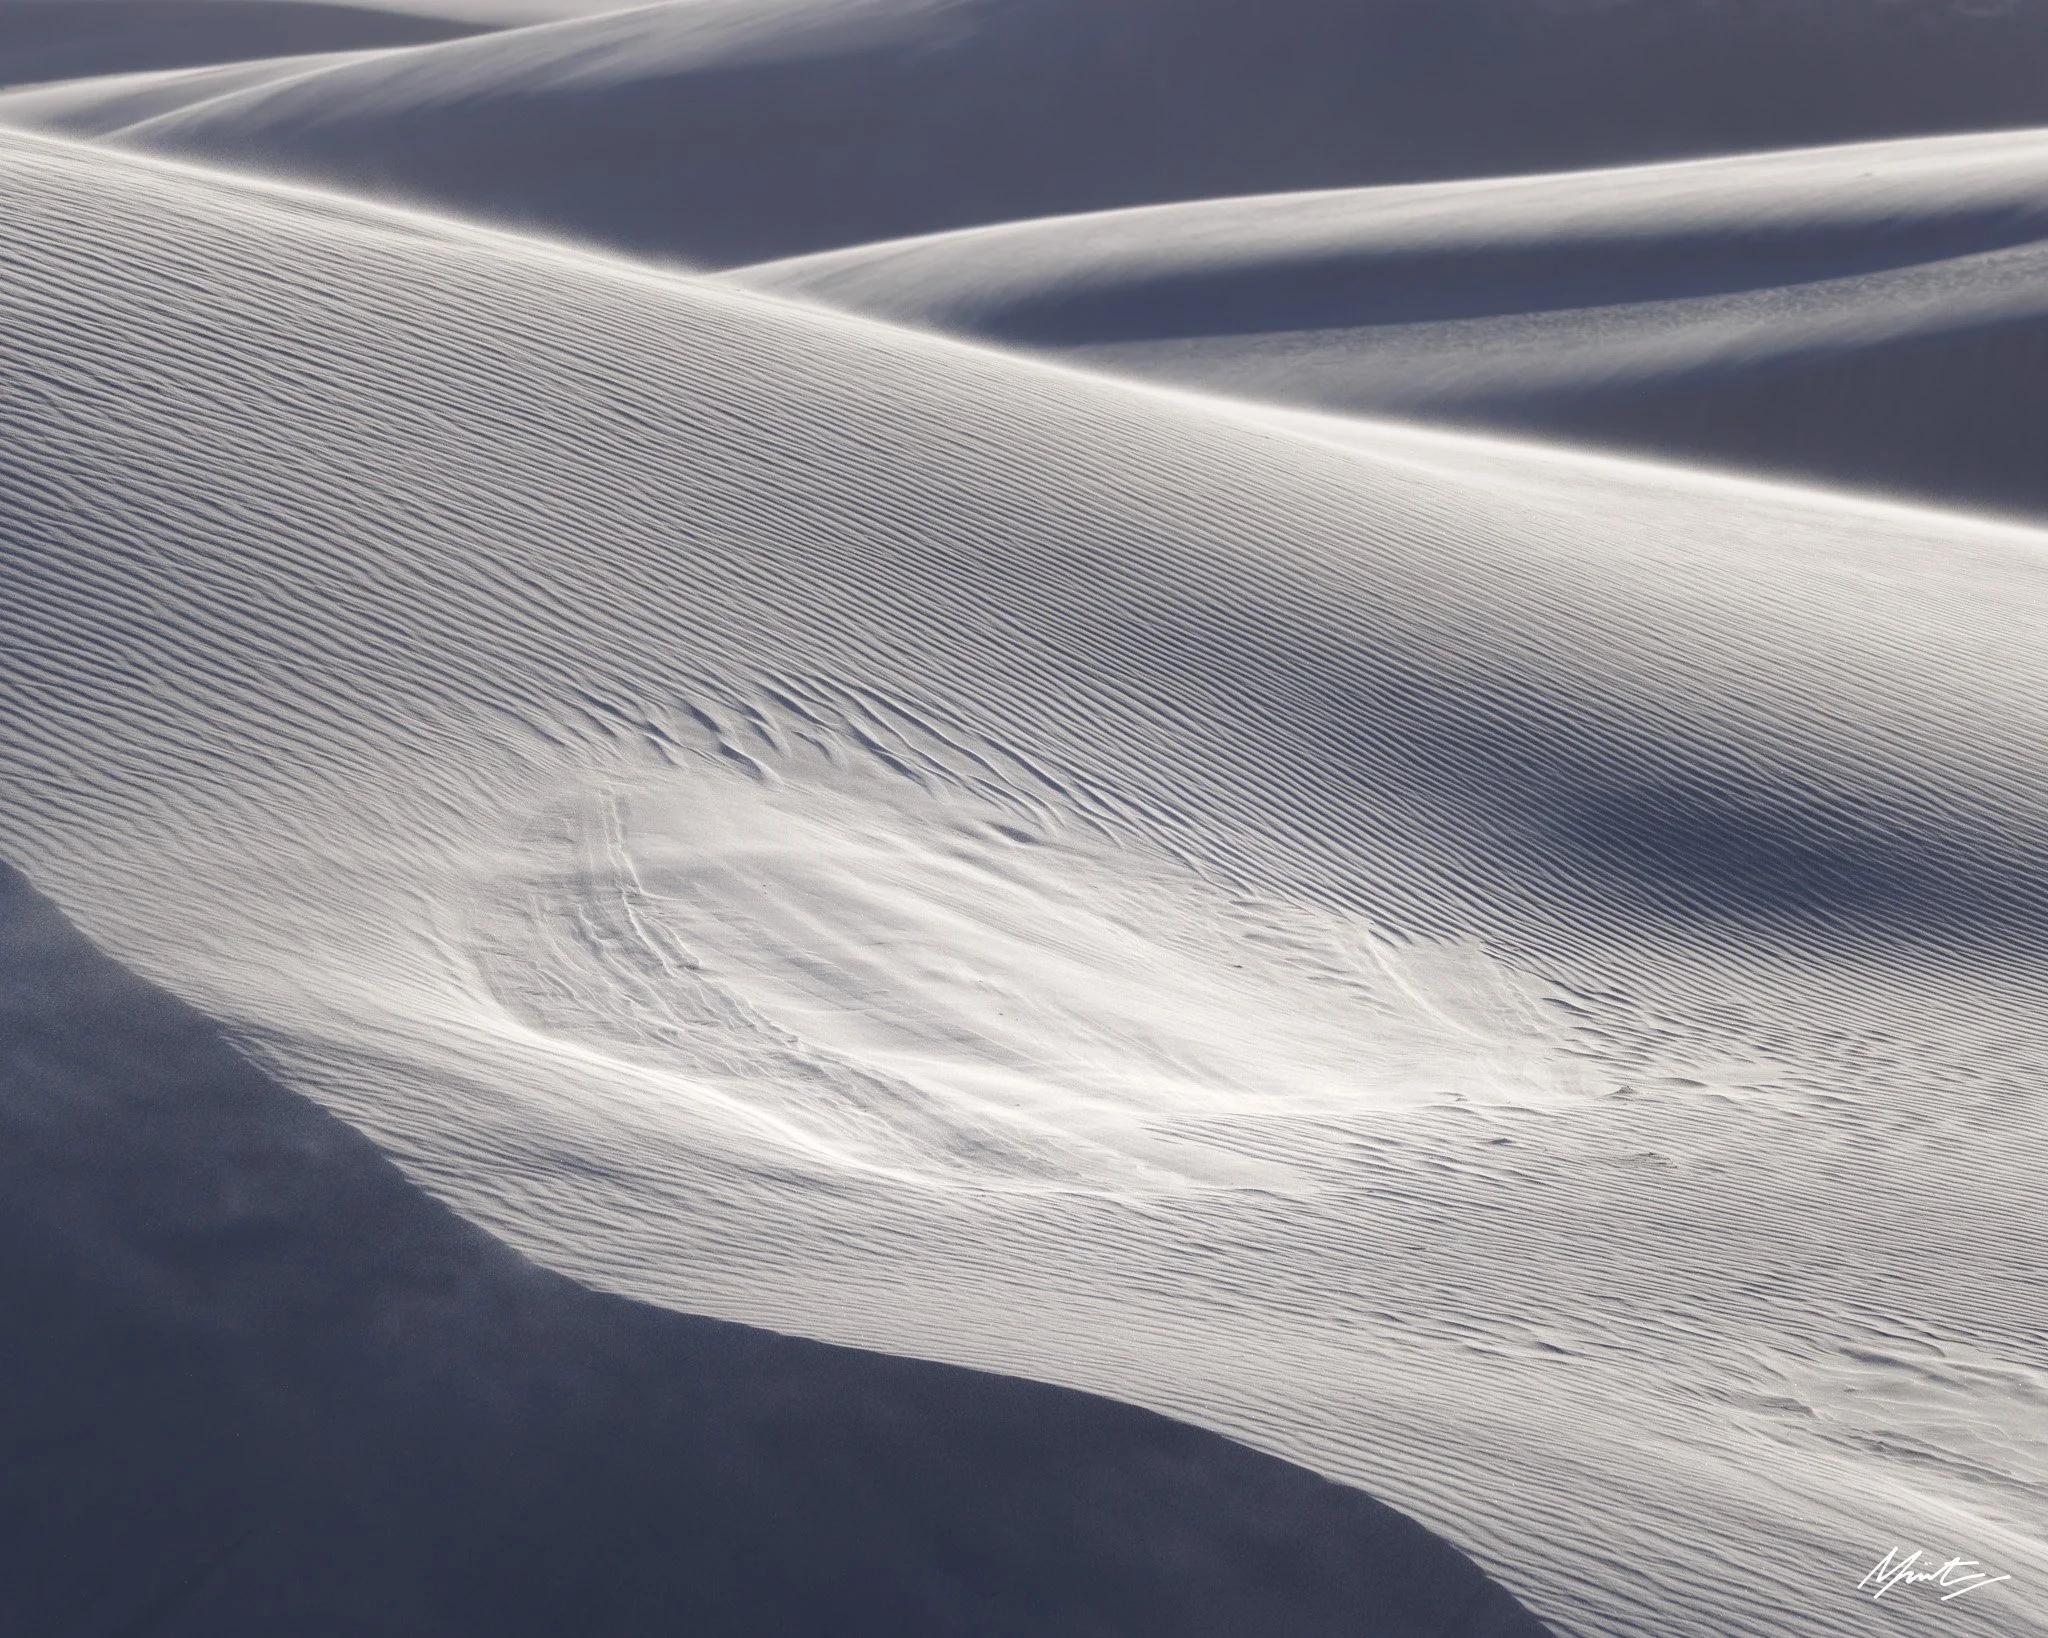
Graceful backlight in White Sands, @254mm
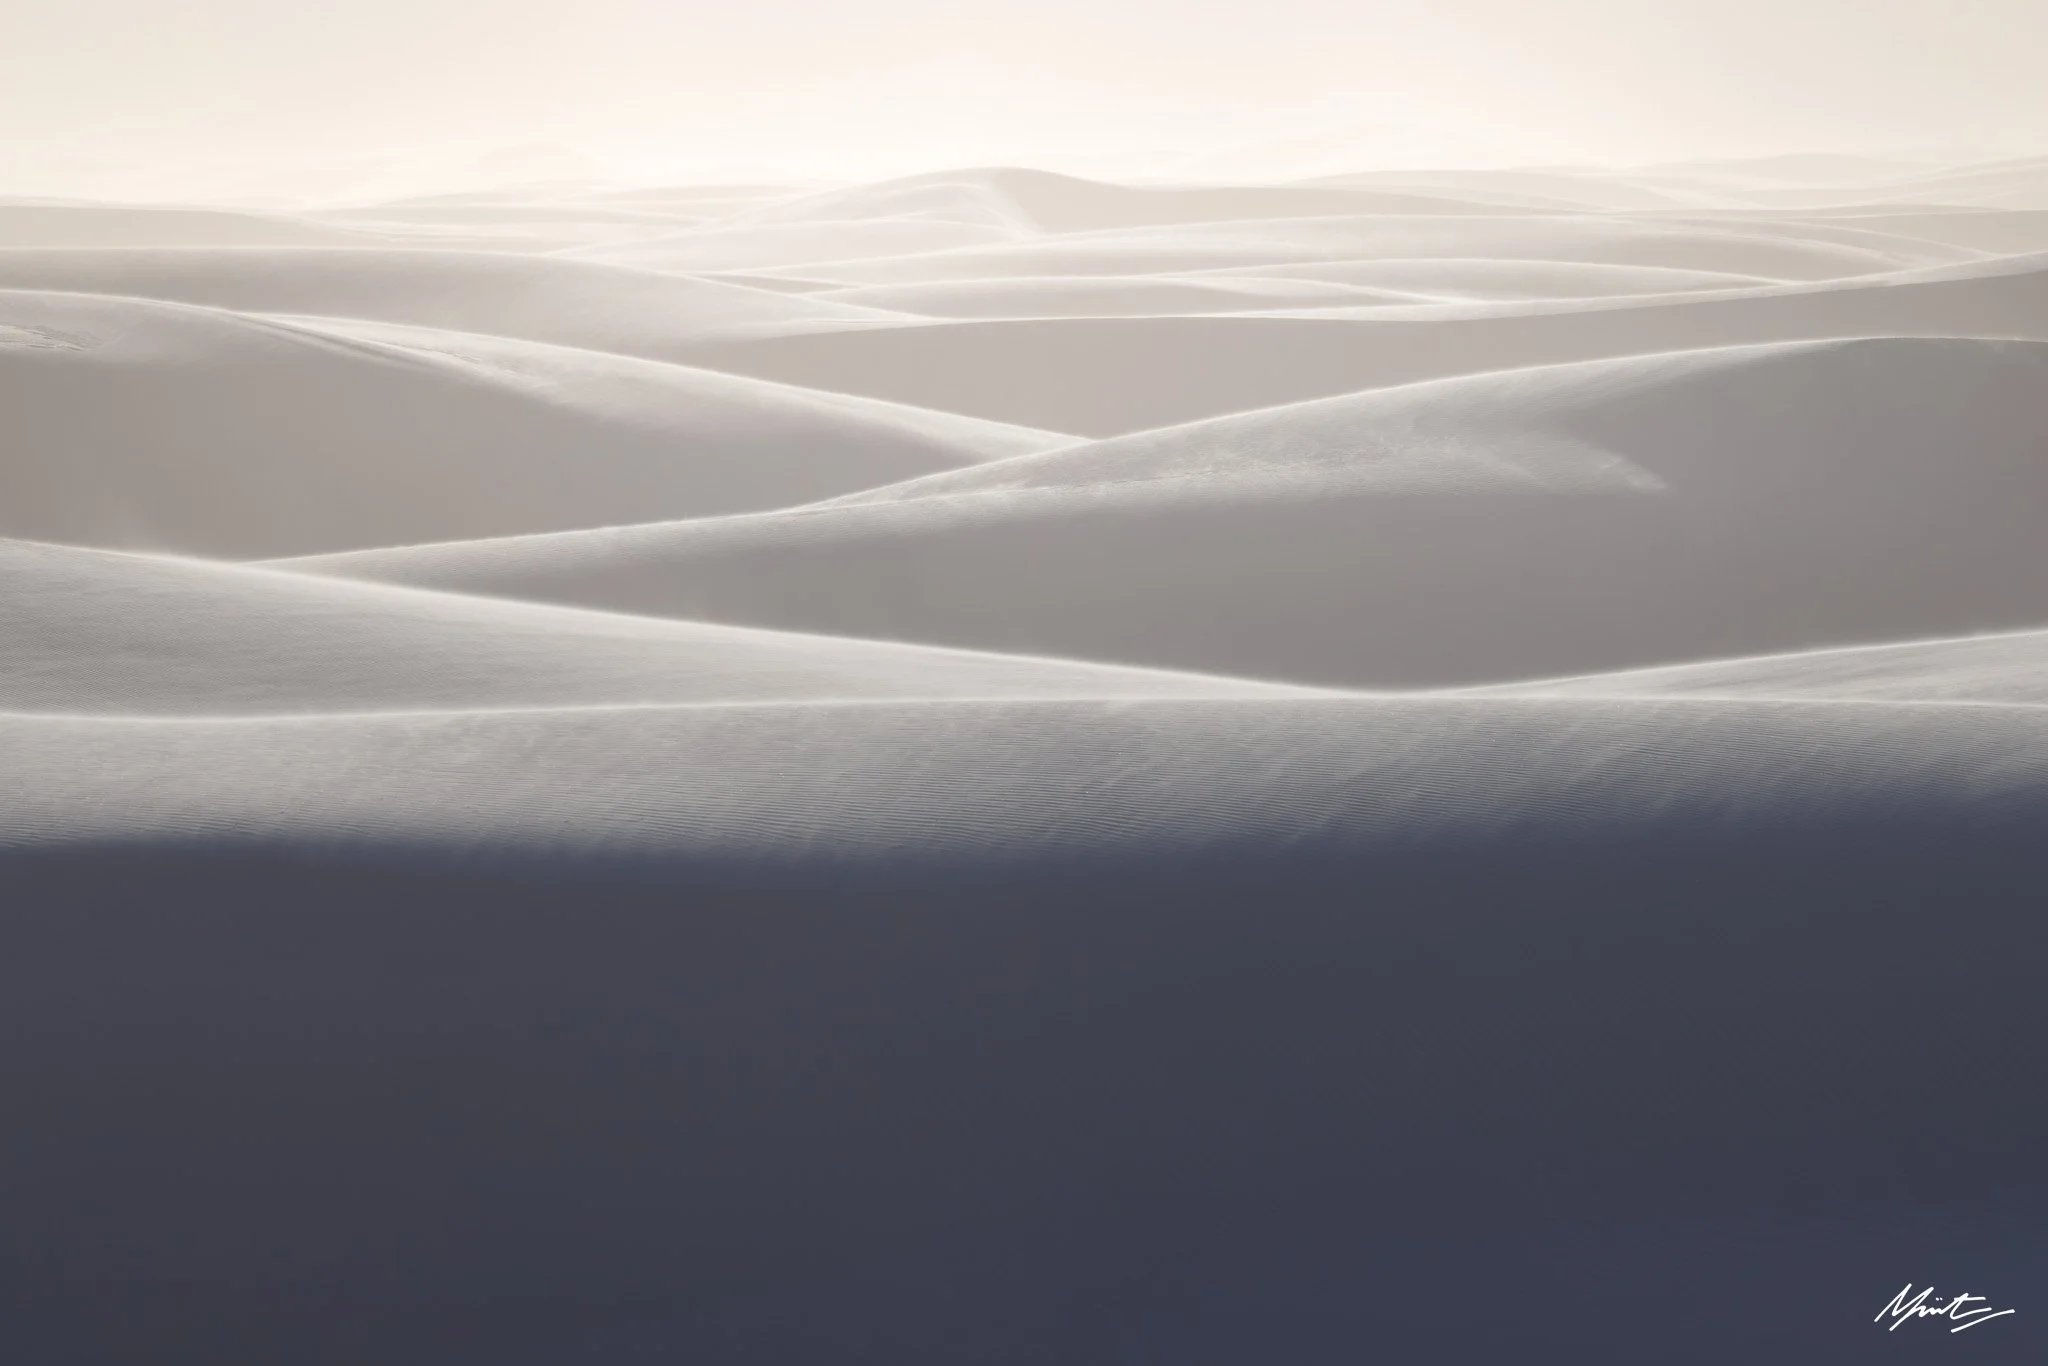
2) Direction Matters
The direction of the light matters more clearly than I’ve experienced with other subject matter. With the sun directly behind you — i.e. the dunes being “front lit” — they lose almost all layers and dimension, becoming a flat mass of yellow or white. This isn’t altogether a bad thing, as the dunes become even more abstracted. With the appropriate subject and vision, there are still photographic opportunities here. Turn 90 degrees, and their shadows start to elongate giving some shape and depth. Side lighting can be incredibly impactful in the dunes. What really stood out though was backlighting. To me, the dunes come to life in backlight. They dance, swaying from side to side gracefully, every curve and line highlighted by an edge of light and shadow. Stand in one spot, put the tripod down, and spin, trying to make photos in 45 degree increments; you’ll immediately find the angle of light that you prefer.
Side and back lighting significantly open up opportunities to identify shape as a primary compositional device, and with that can come abstraction. Link up points where light and shadow meet. Continue lines from foreground to background. Crop compositions between dunes to create triangles. Layer warm and cool colours.

Abstract shapes and side lighting in Ibex Dunes, Death Valley, @500mm.
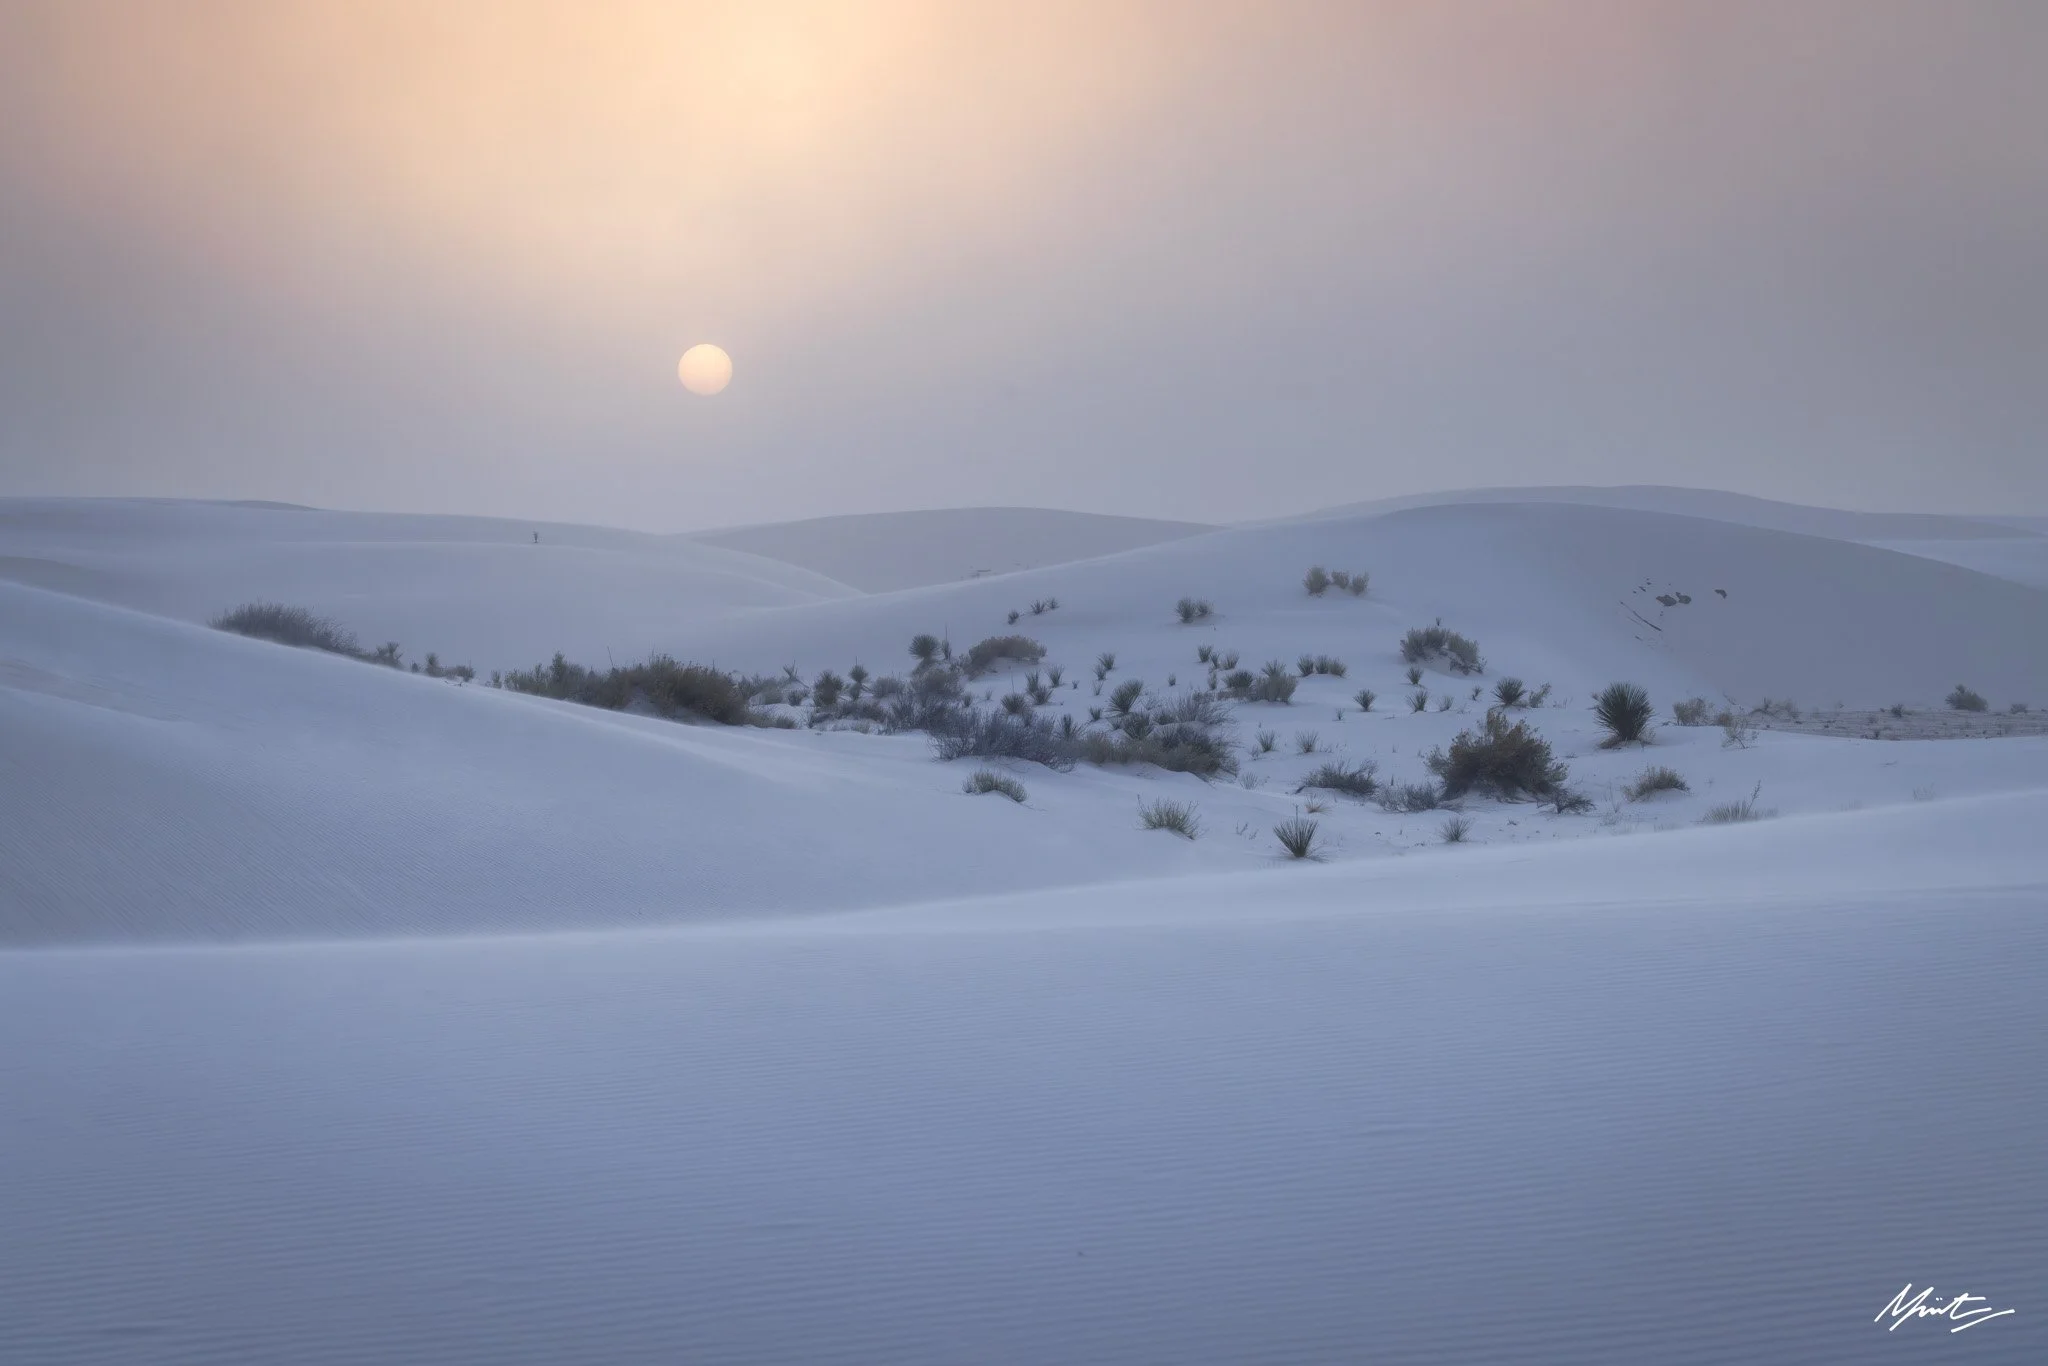
Dusty Sunset in White Sands, @100mm
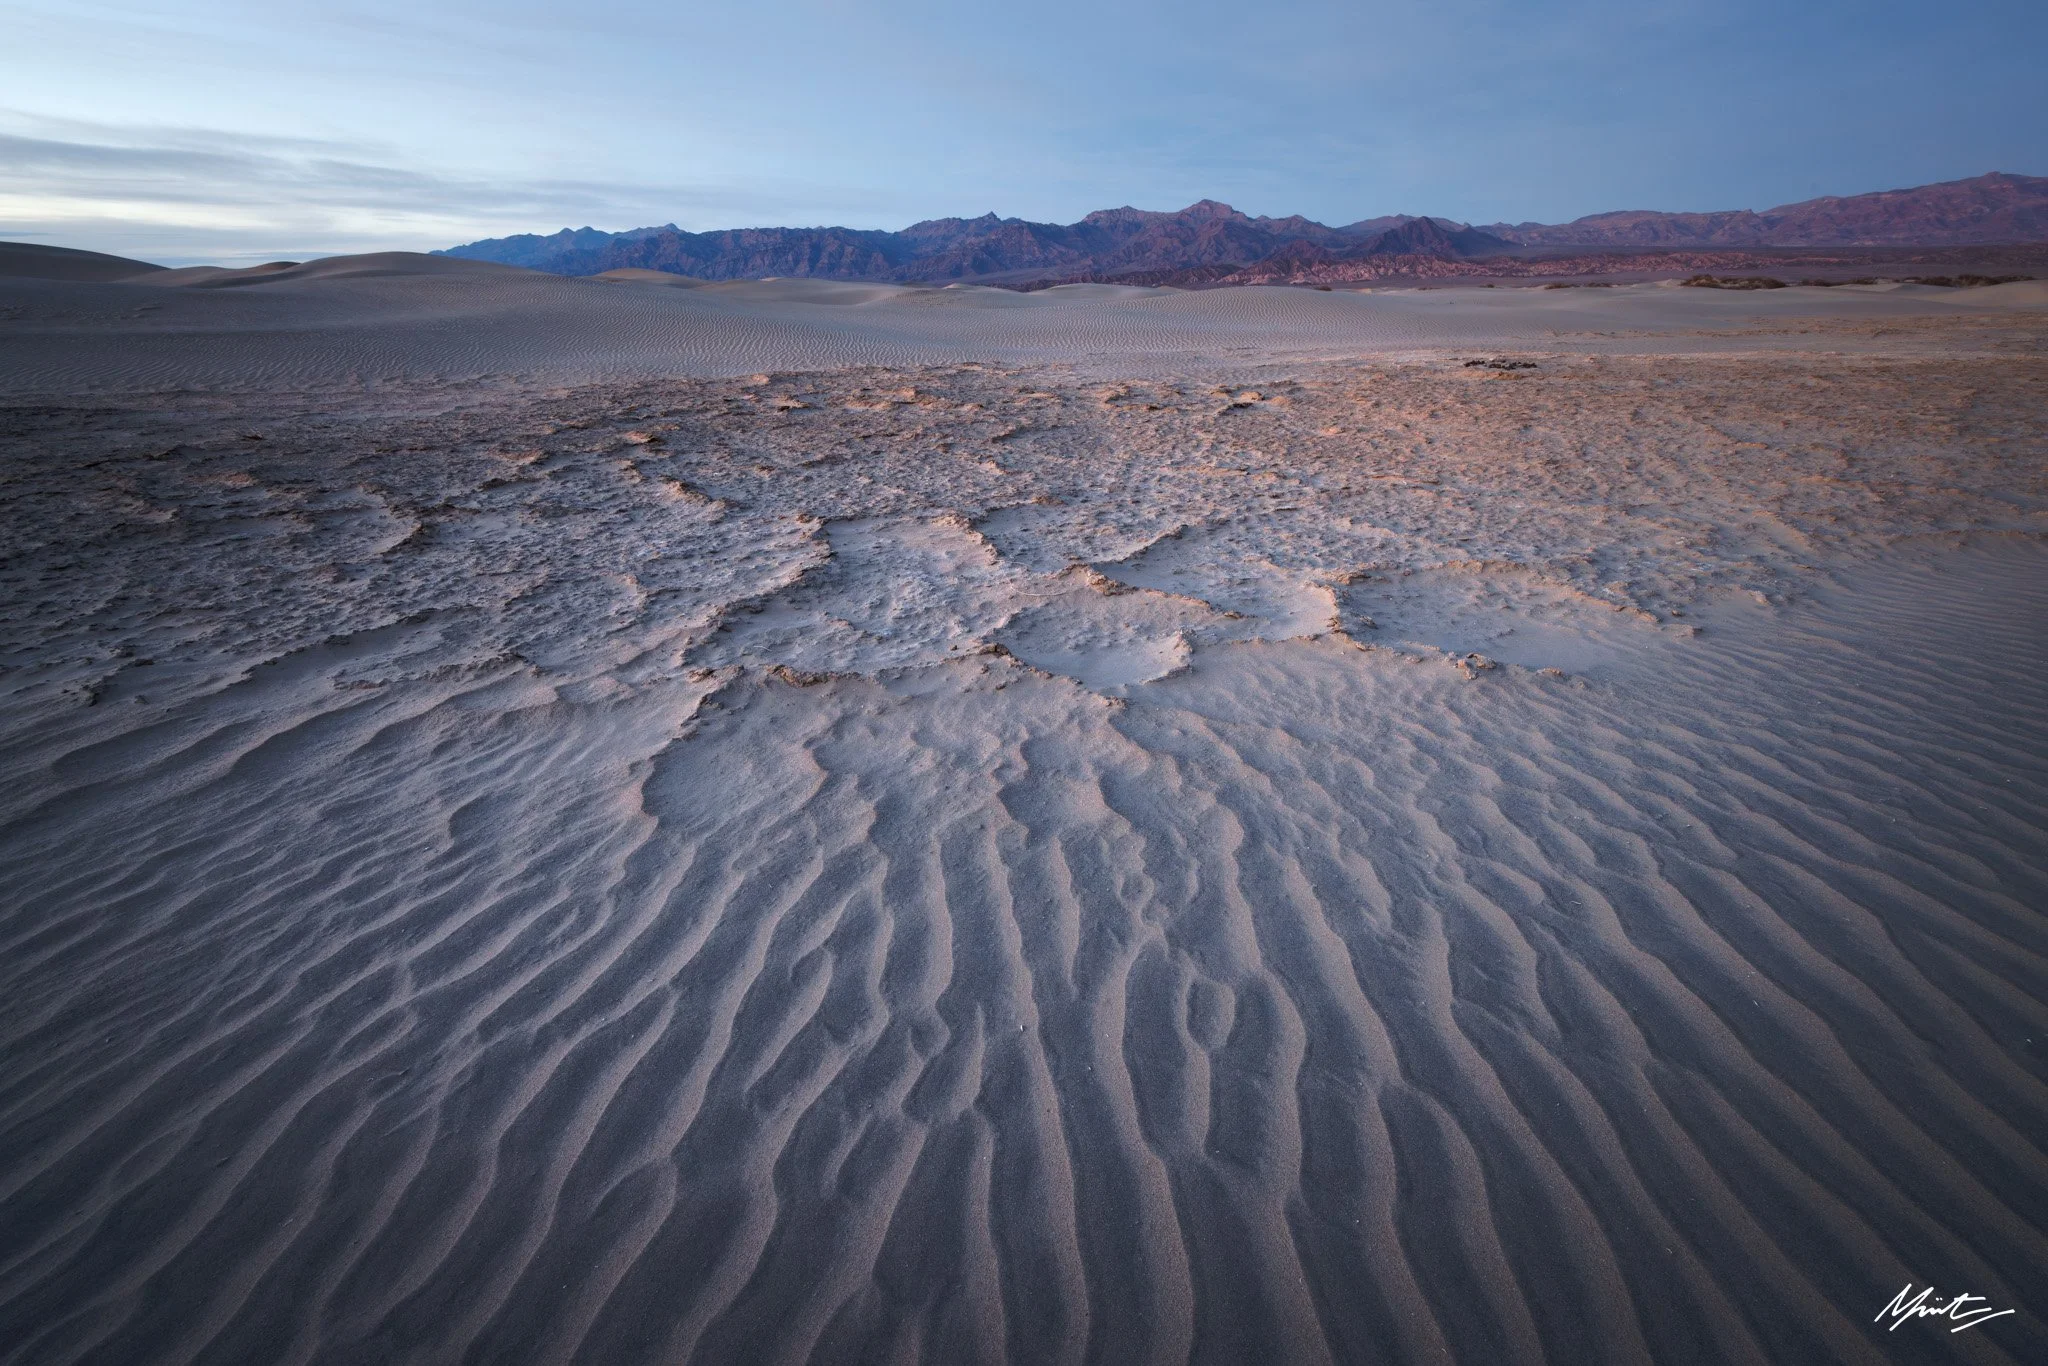
3) Conditions Actually Do Make All The Difference
Yes, it’s true. Given the right creative mindset and vision, one can make beautiful images in any location at any time of day. However, it’s certainly also true that the time of day, specific conditions, or colour of the light (among many other factors) dictate the available opportunities. If one wants to photograph scenes with a high-key style and soft pinks, it might be better to stay out into twilight than attempting to photograph in midday light. The windy conditions I experienced in White Sands were a privilege for a number of reasons. Firstly, they swept the dunes clear of footprints — something that every photographer will battle to avoid given the proximity of the dunes to the road here. A similar story can be said of Mesquite Dunes in Death Valley (although I wasn’t so lucky to have winds there, but fantastic clouds and a full moon more than made up for that). Significant winds also kick up a lot of sand and desert dust into the air, essentially creating a large soft box for the sun to shine through. This quality of light feels quite rare and means you can, quite literally, photograph all day long. That being said, it’s worth visiting the dunes in all conditions. Both harsh afternoon lighting and soft twilight just before dark provided some of the best conditions while in Death Valley.
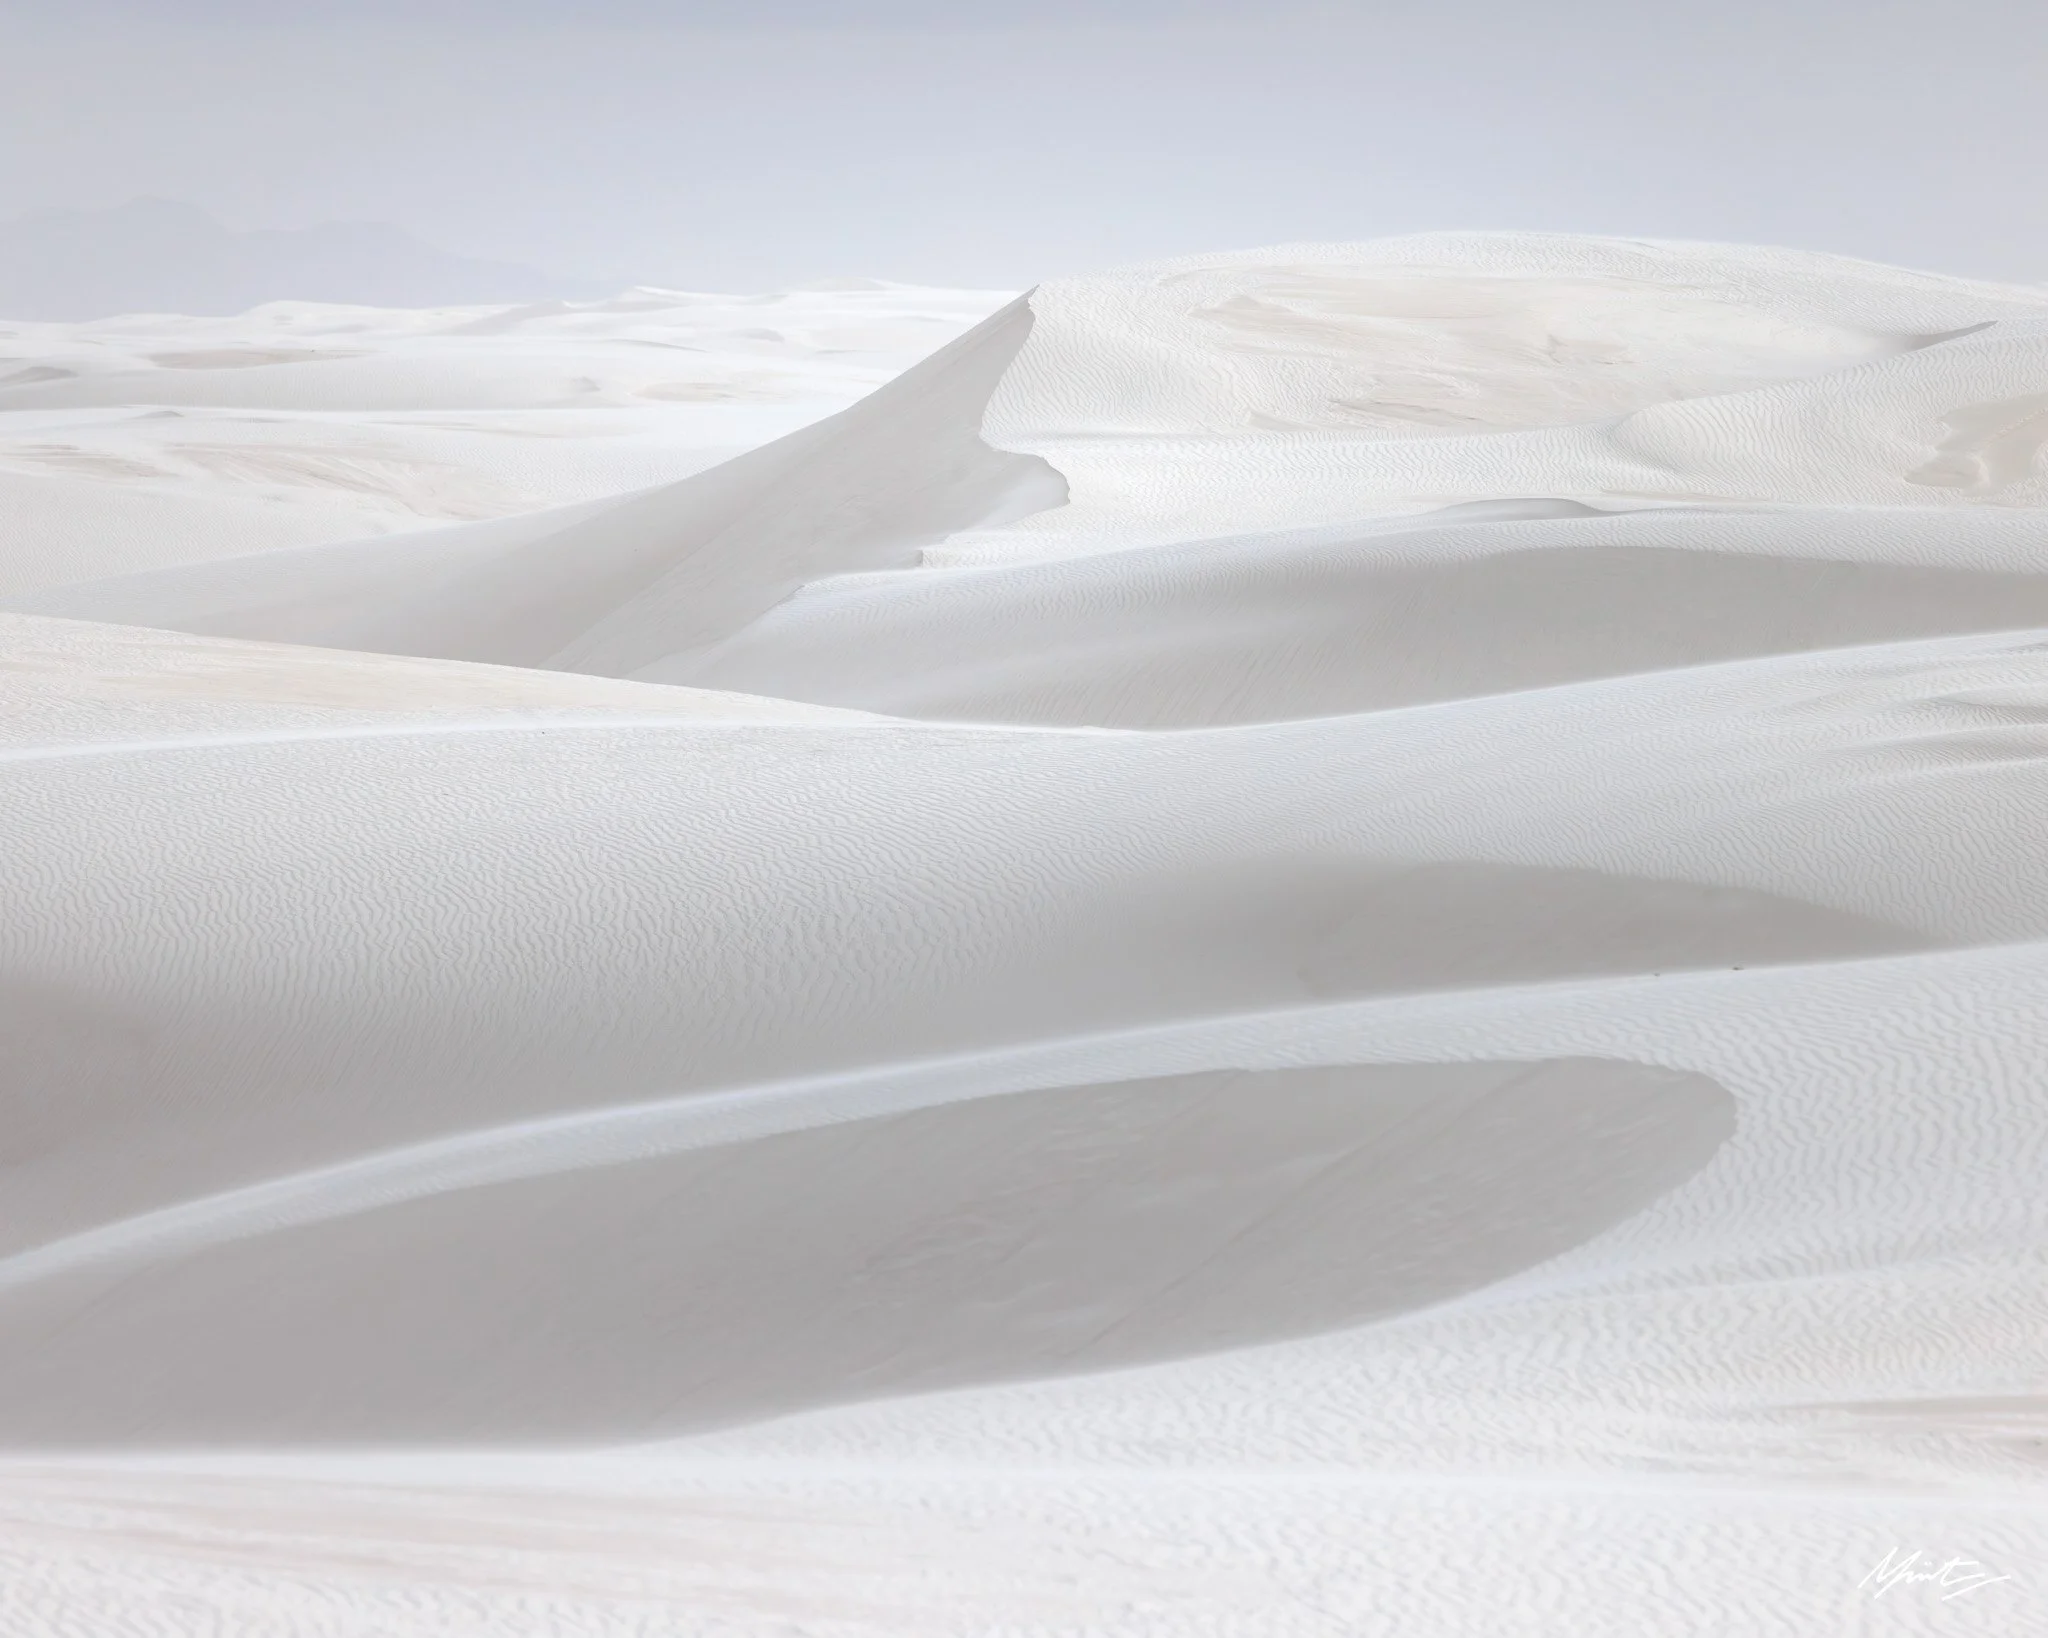
Mid Afternoon Soft Box in White Sands, @451mm
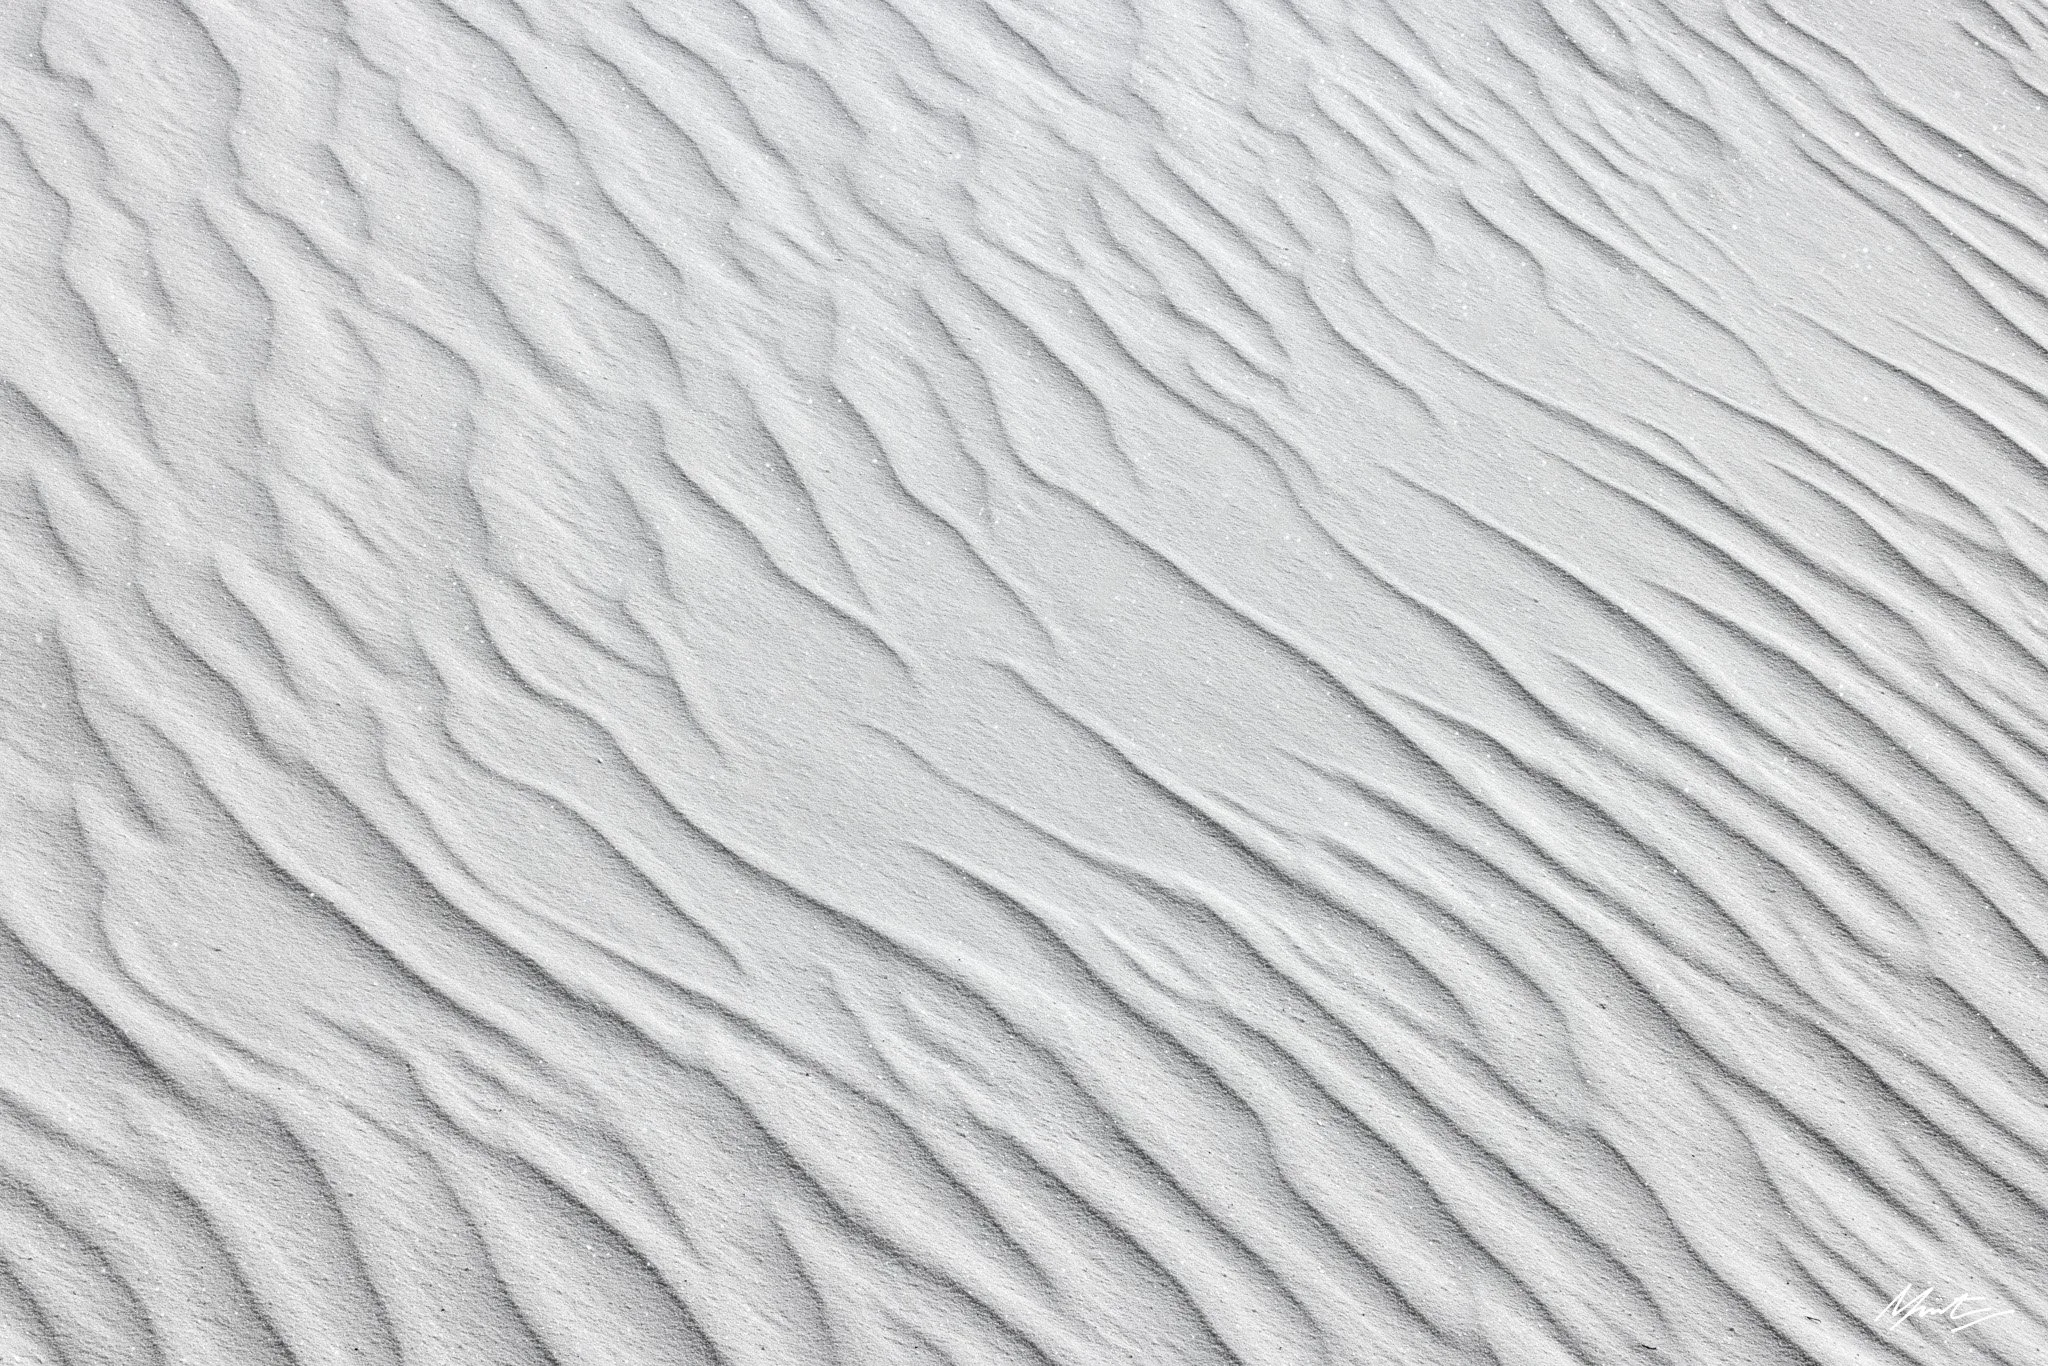
Sand Patterns in White Sands, @100mm
4) Think Big, Think Small
I mentioned earlier that there are brilliant patterns throughout the dunes and that means opportunities for intimate details! So, don’t only look for the big scenes but compliment your portfolio with unique ephemeral moments left behind by wind (or rain if you are lucky). I have a handful of this style of smaller scene still to process, and I’m glad I took the time to stop and photograph them; however, be prepared to do some focus stacking to achieve this type of photo in sharp focus from front to back.
White Sands has a plethora of options from wind-blown sand and various plants (Rubber Rabbitbrush and Yucca most commonly), to slightly hardened gypsum deposits (you’ll find these slates of flat sand with distinctive straight jagged lines). The dunes of Death Valley themselves are predominantly sand, but the surrounding outskirts are often very different. The Devil’s Cornfield has strange large hexagonal patterns, Eureka presents a large playa of mud cracks given the right conditions, and there are Creosote Bushes nearly everywhere.
An Eye of Gypsum Deposit in White Sands, @223mm
Devil’s Cornfield in Death Valley, @14mm
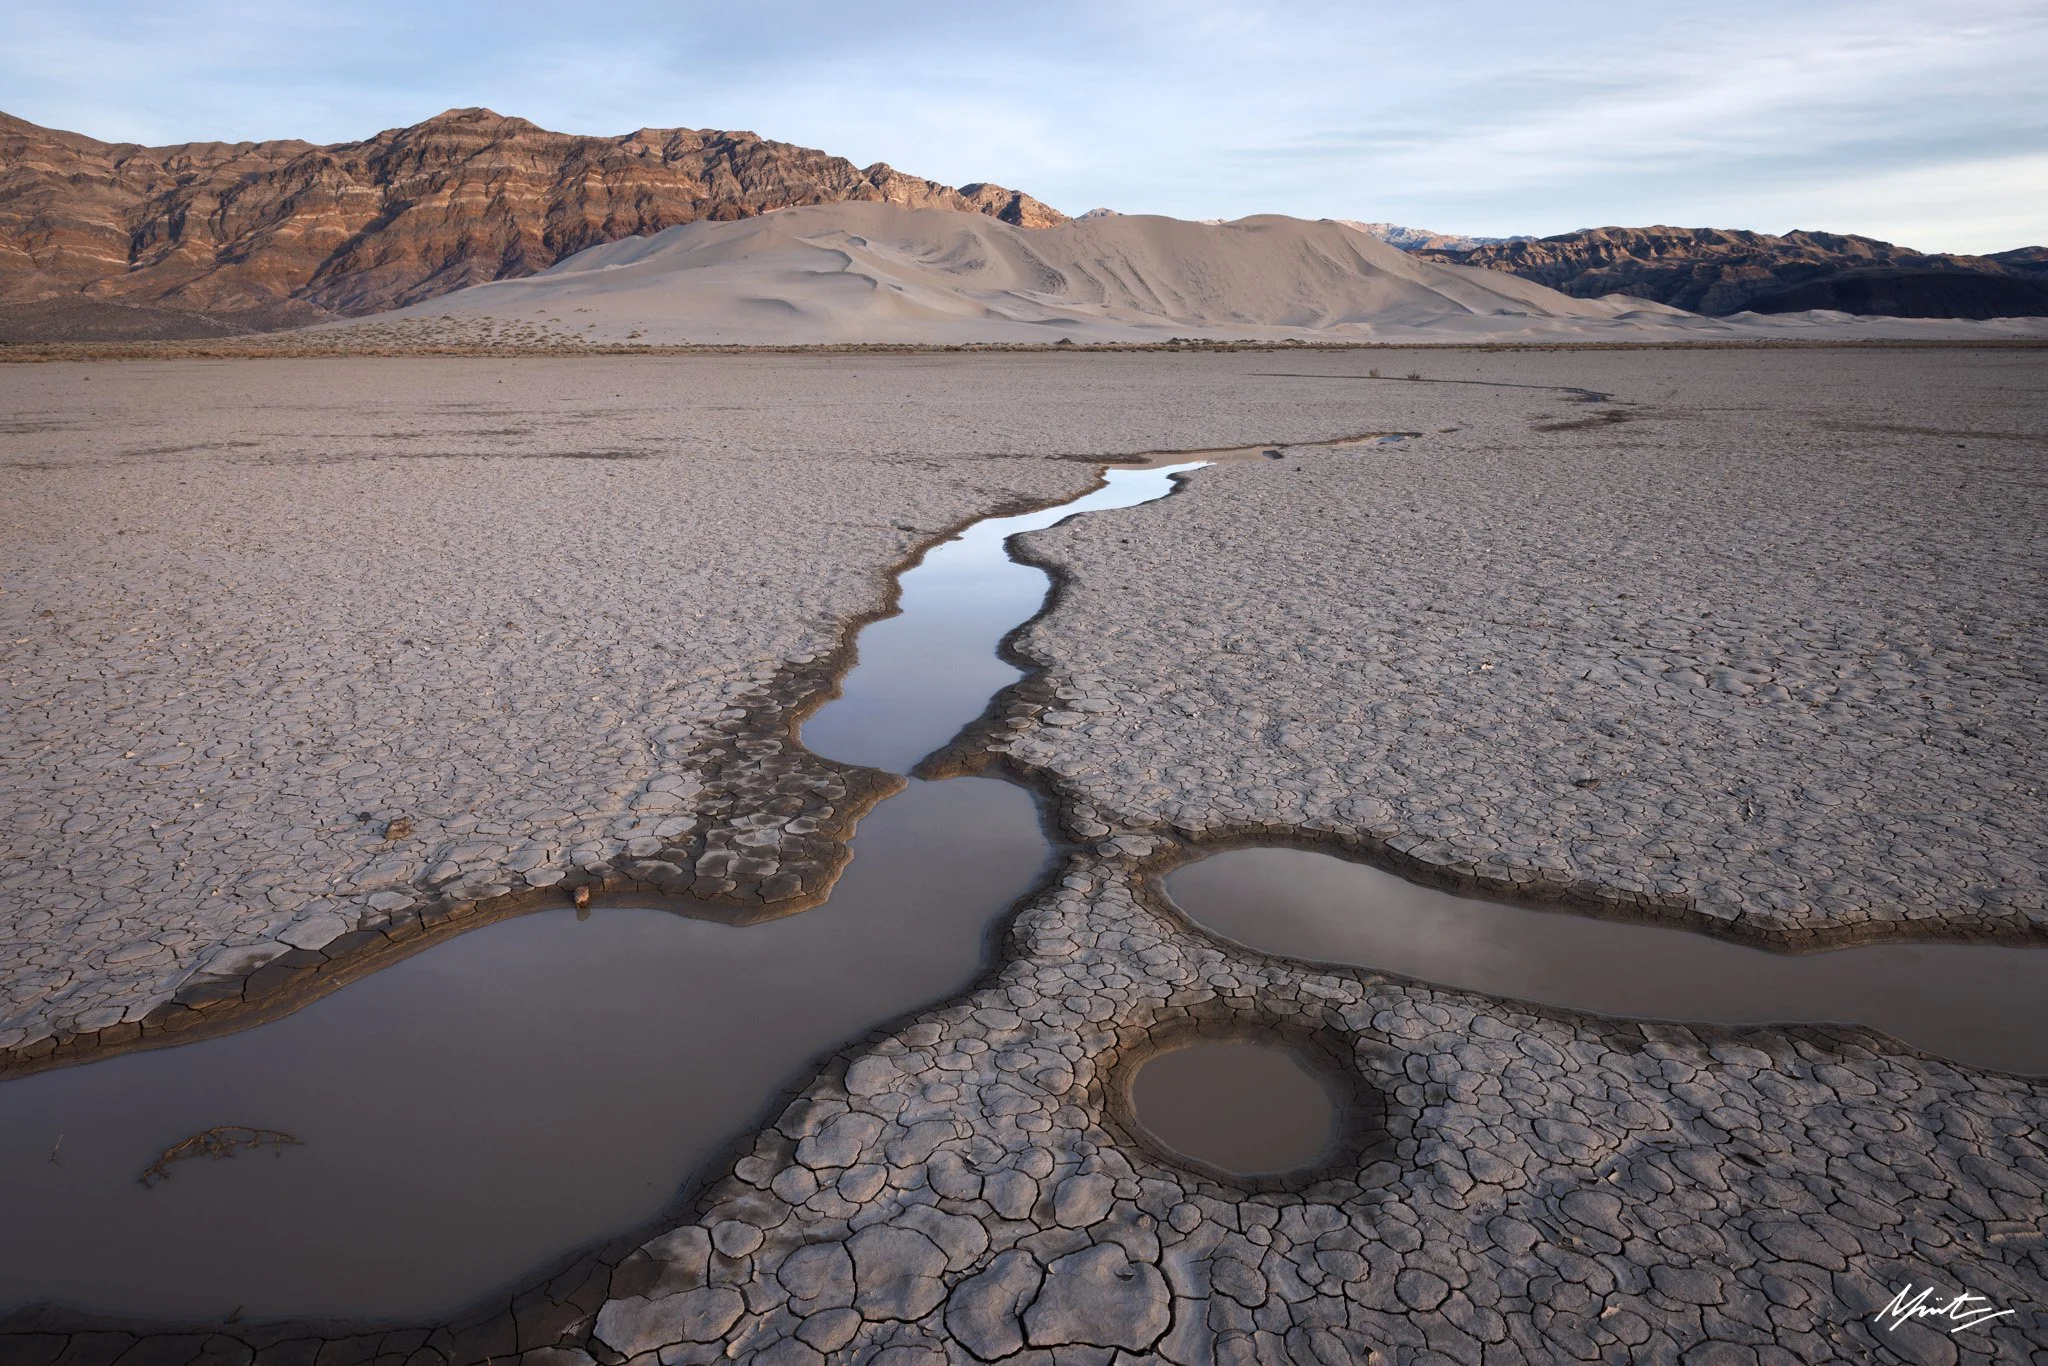
Mudcracks and Angel’s Wings, Eureka Dunes in Death Valley, @20mm
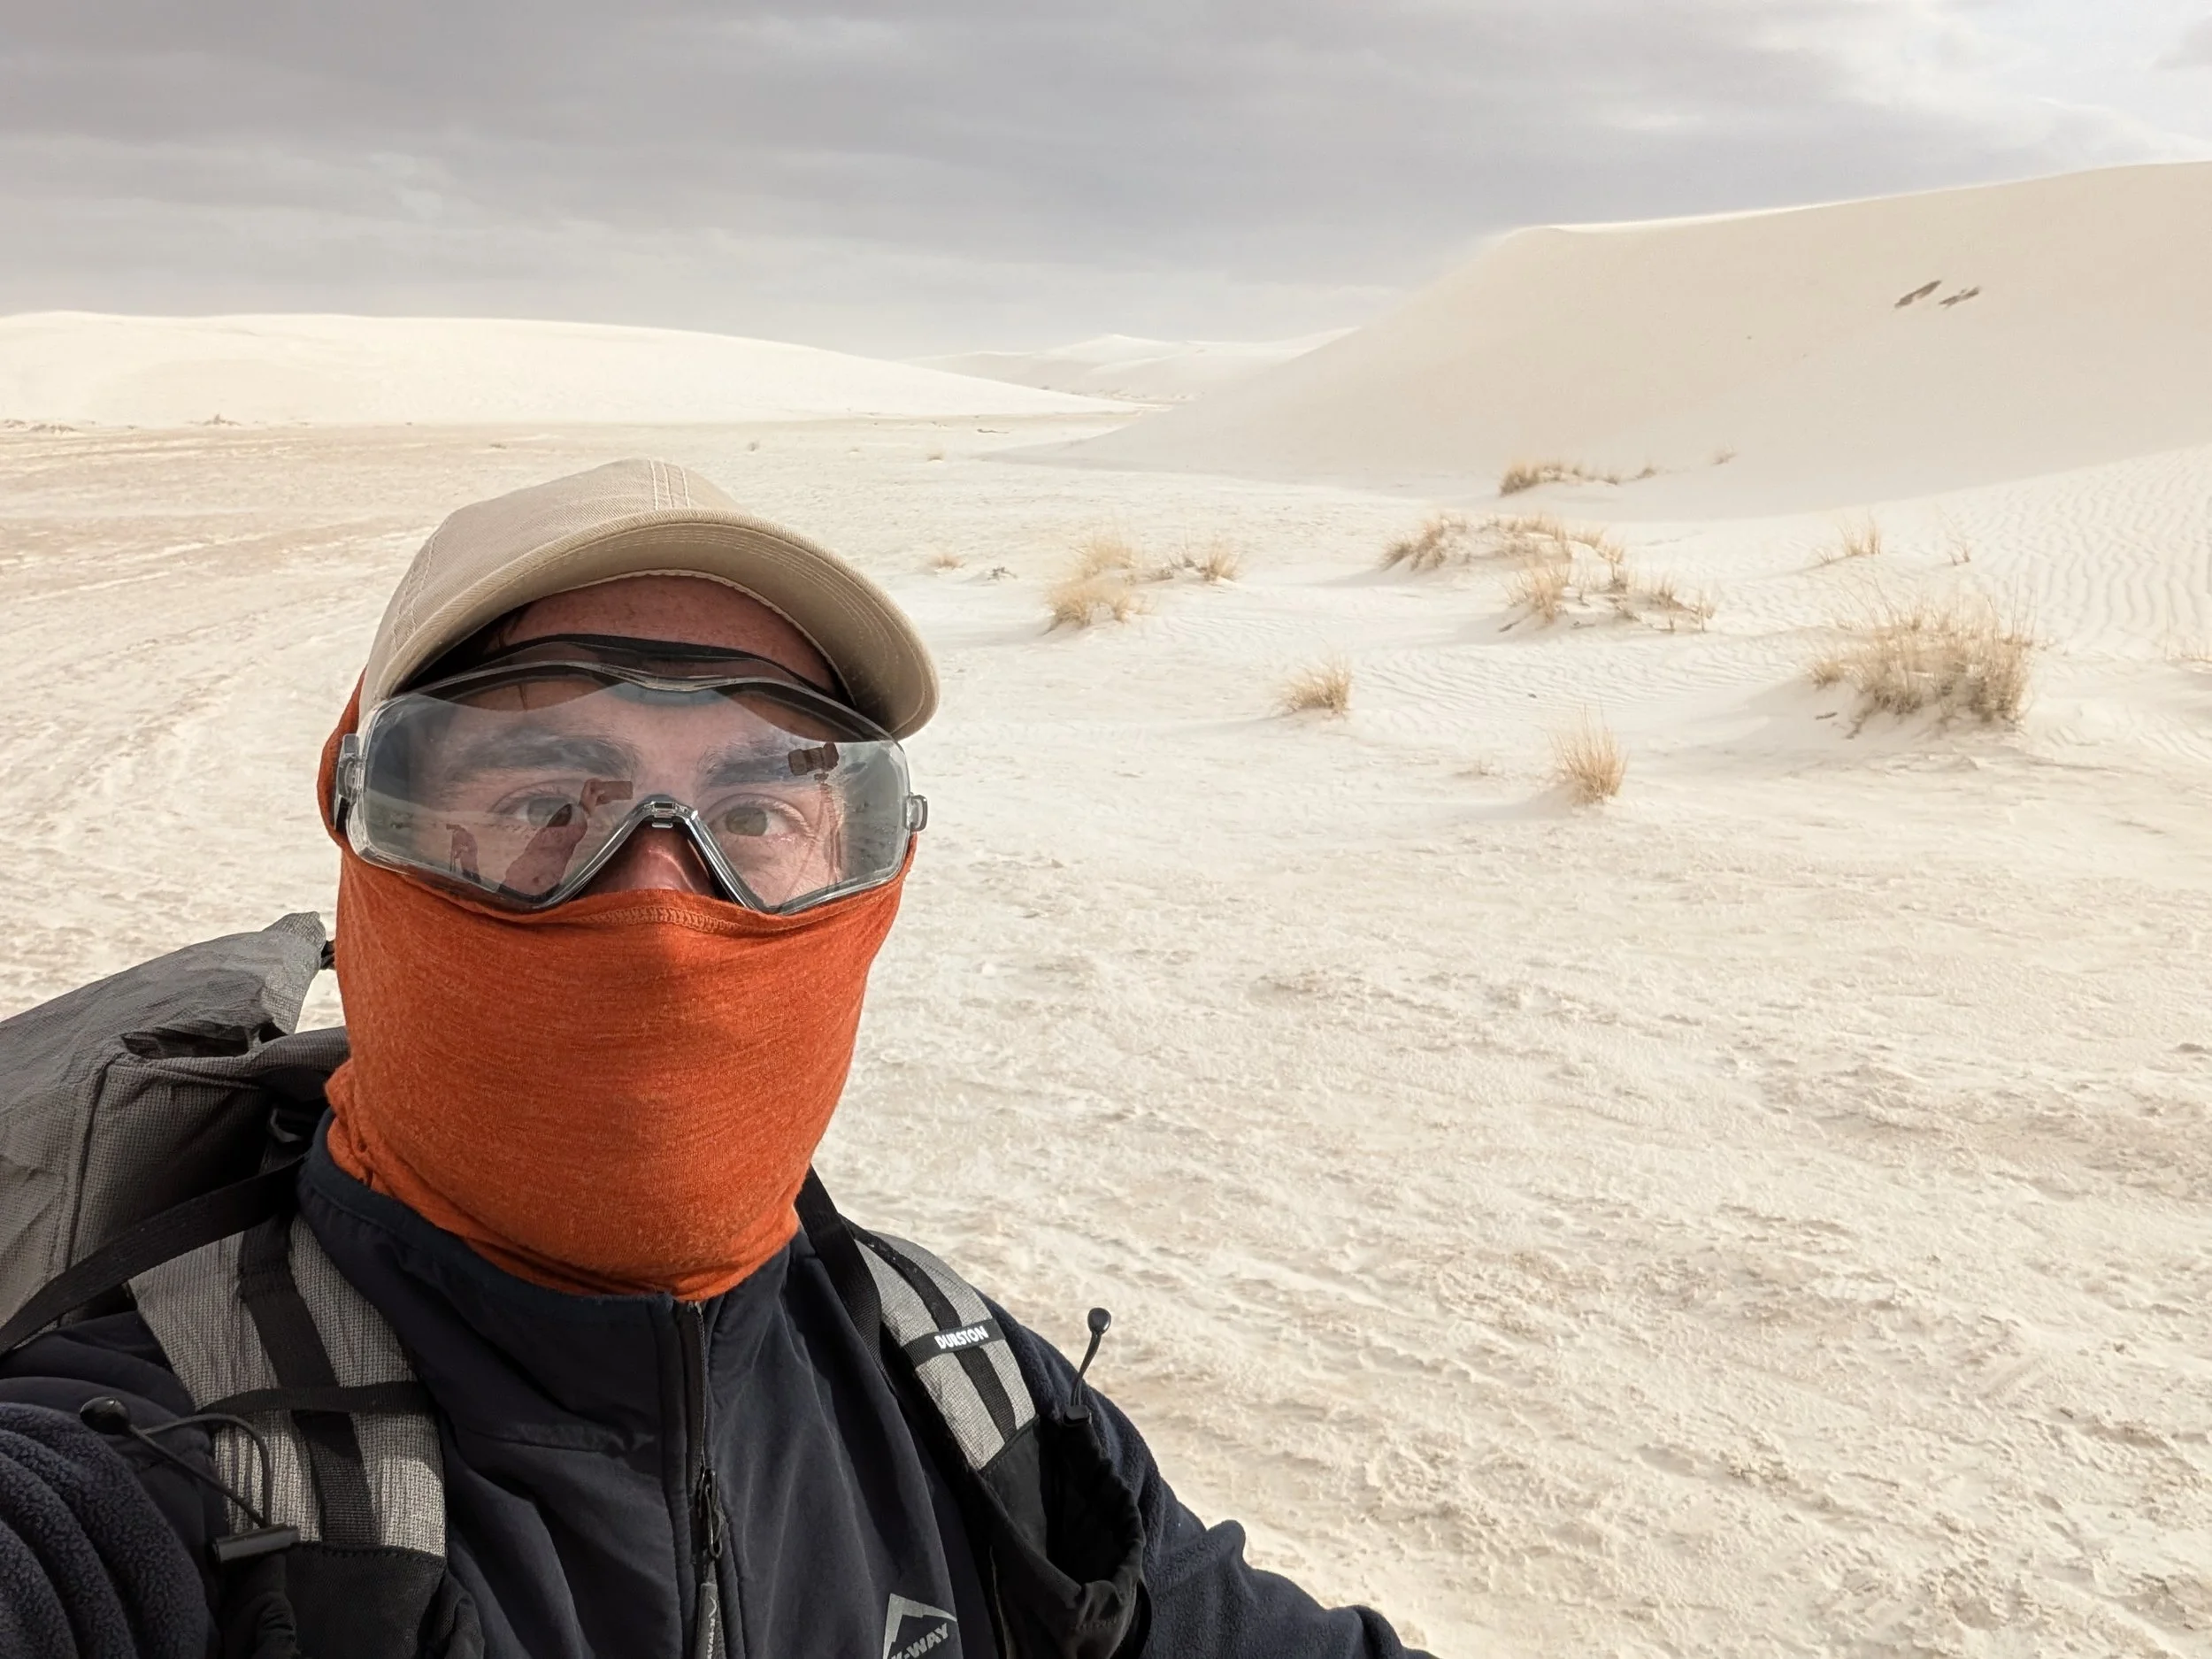
Over-glasses goggles and a buff are essential
5) Sand. It’s coarse and rough and irritating and it gets everywhere.
Well, Anakin was right about one thing. Expect all of your gear to be covered in sand and in need of a thorough deep clean after any kind of time in the dunes. White Sands was slightly better insofar as the grain particles appear to be bigger. This means that they don’t stick to your gear nearly as bad as other locations. Death Valley, and Namibia for that matter, has this ultra-fine silica sand that is like sand mixed with glue. My tent is still covered in the stuff some weeks later! A rocket blower and soft bristled brush are your best friends to keep your lens clear of debris. Be very careful with lens cloths, as wiping stray sand grains into your front element can definitely cause scratches.
Not only does your gear need protection, but you do too. Goggles that fit over glasses are a must, not only to keep sand out of your eyes but to allow you to wear sunglasses in a very glare-y environment. The sun reflects heavily off of the sand, almost like what one would expect on high altitude glaciers or snow fields. A buff is another essential item to filter the air before breathing, otherwise things can get a bit crunchy. And, of course, sun protection — long sleeve shirts, sunscreen, etc. Even in winter.
Wind Swept Dunes in White Sands, @363mm
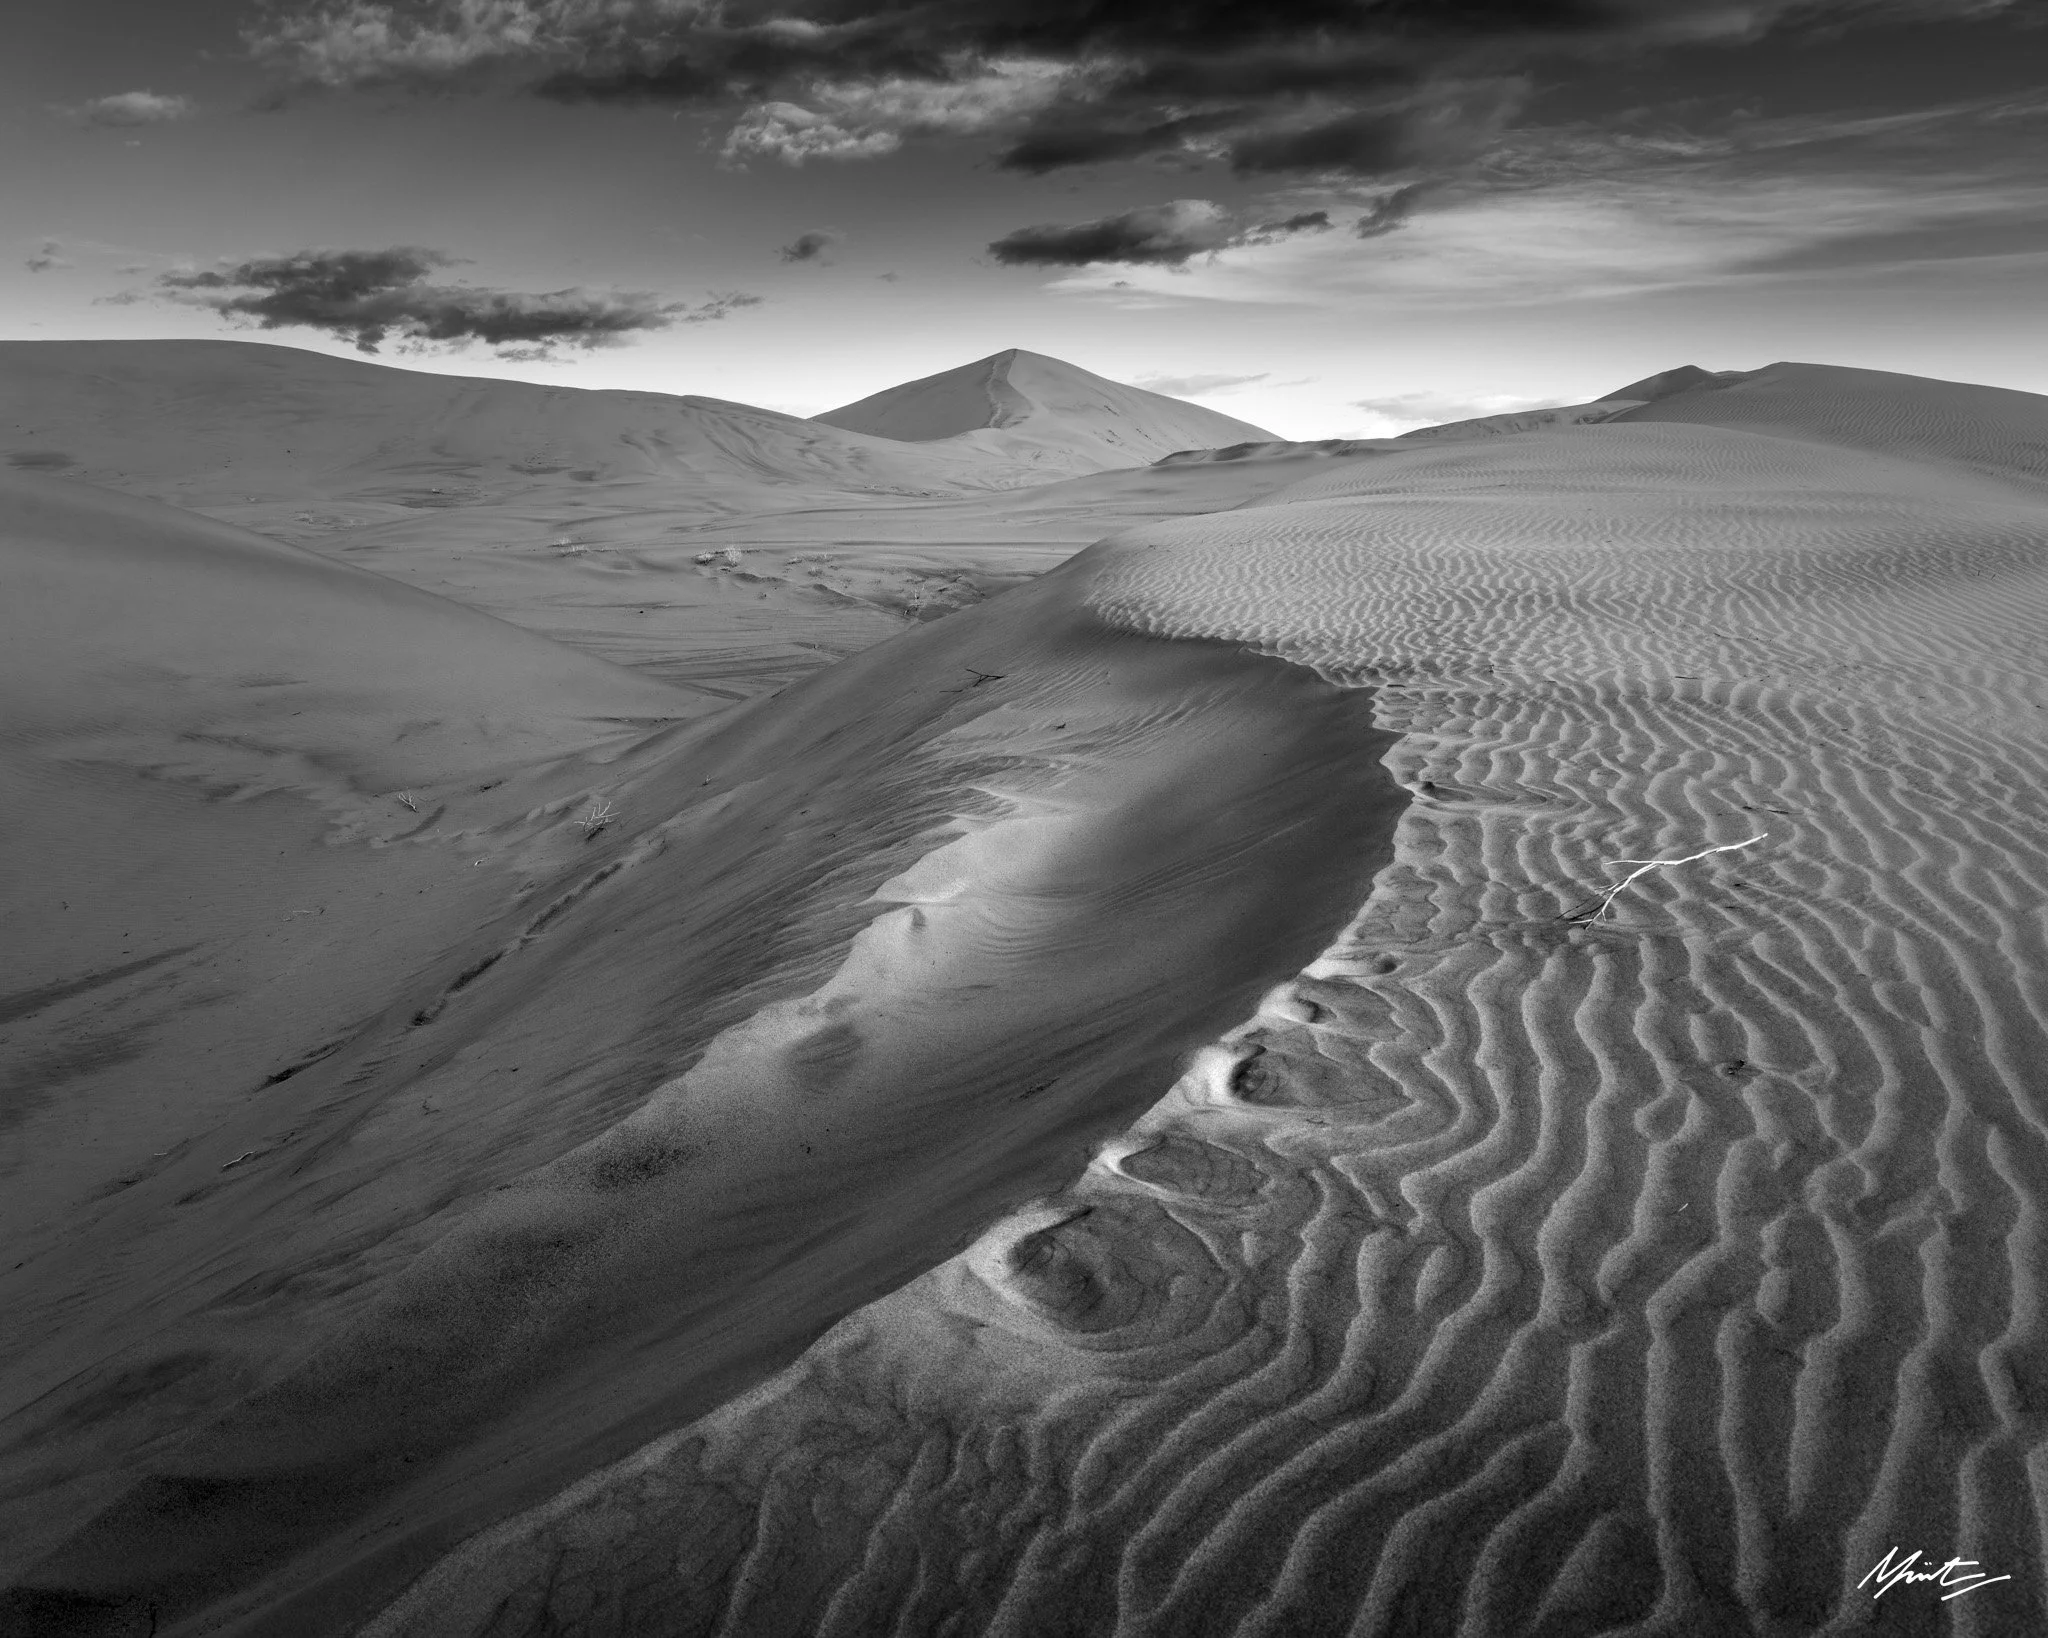
And lastly, be bold! Sometimes that deep jutting shadow makes for a unique composition, especially in black and white. Don’t be afraid to play and experiment.
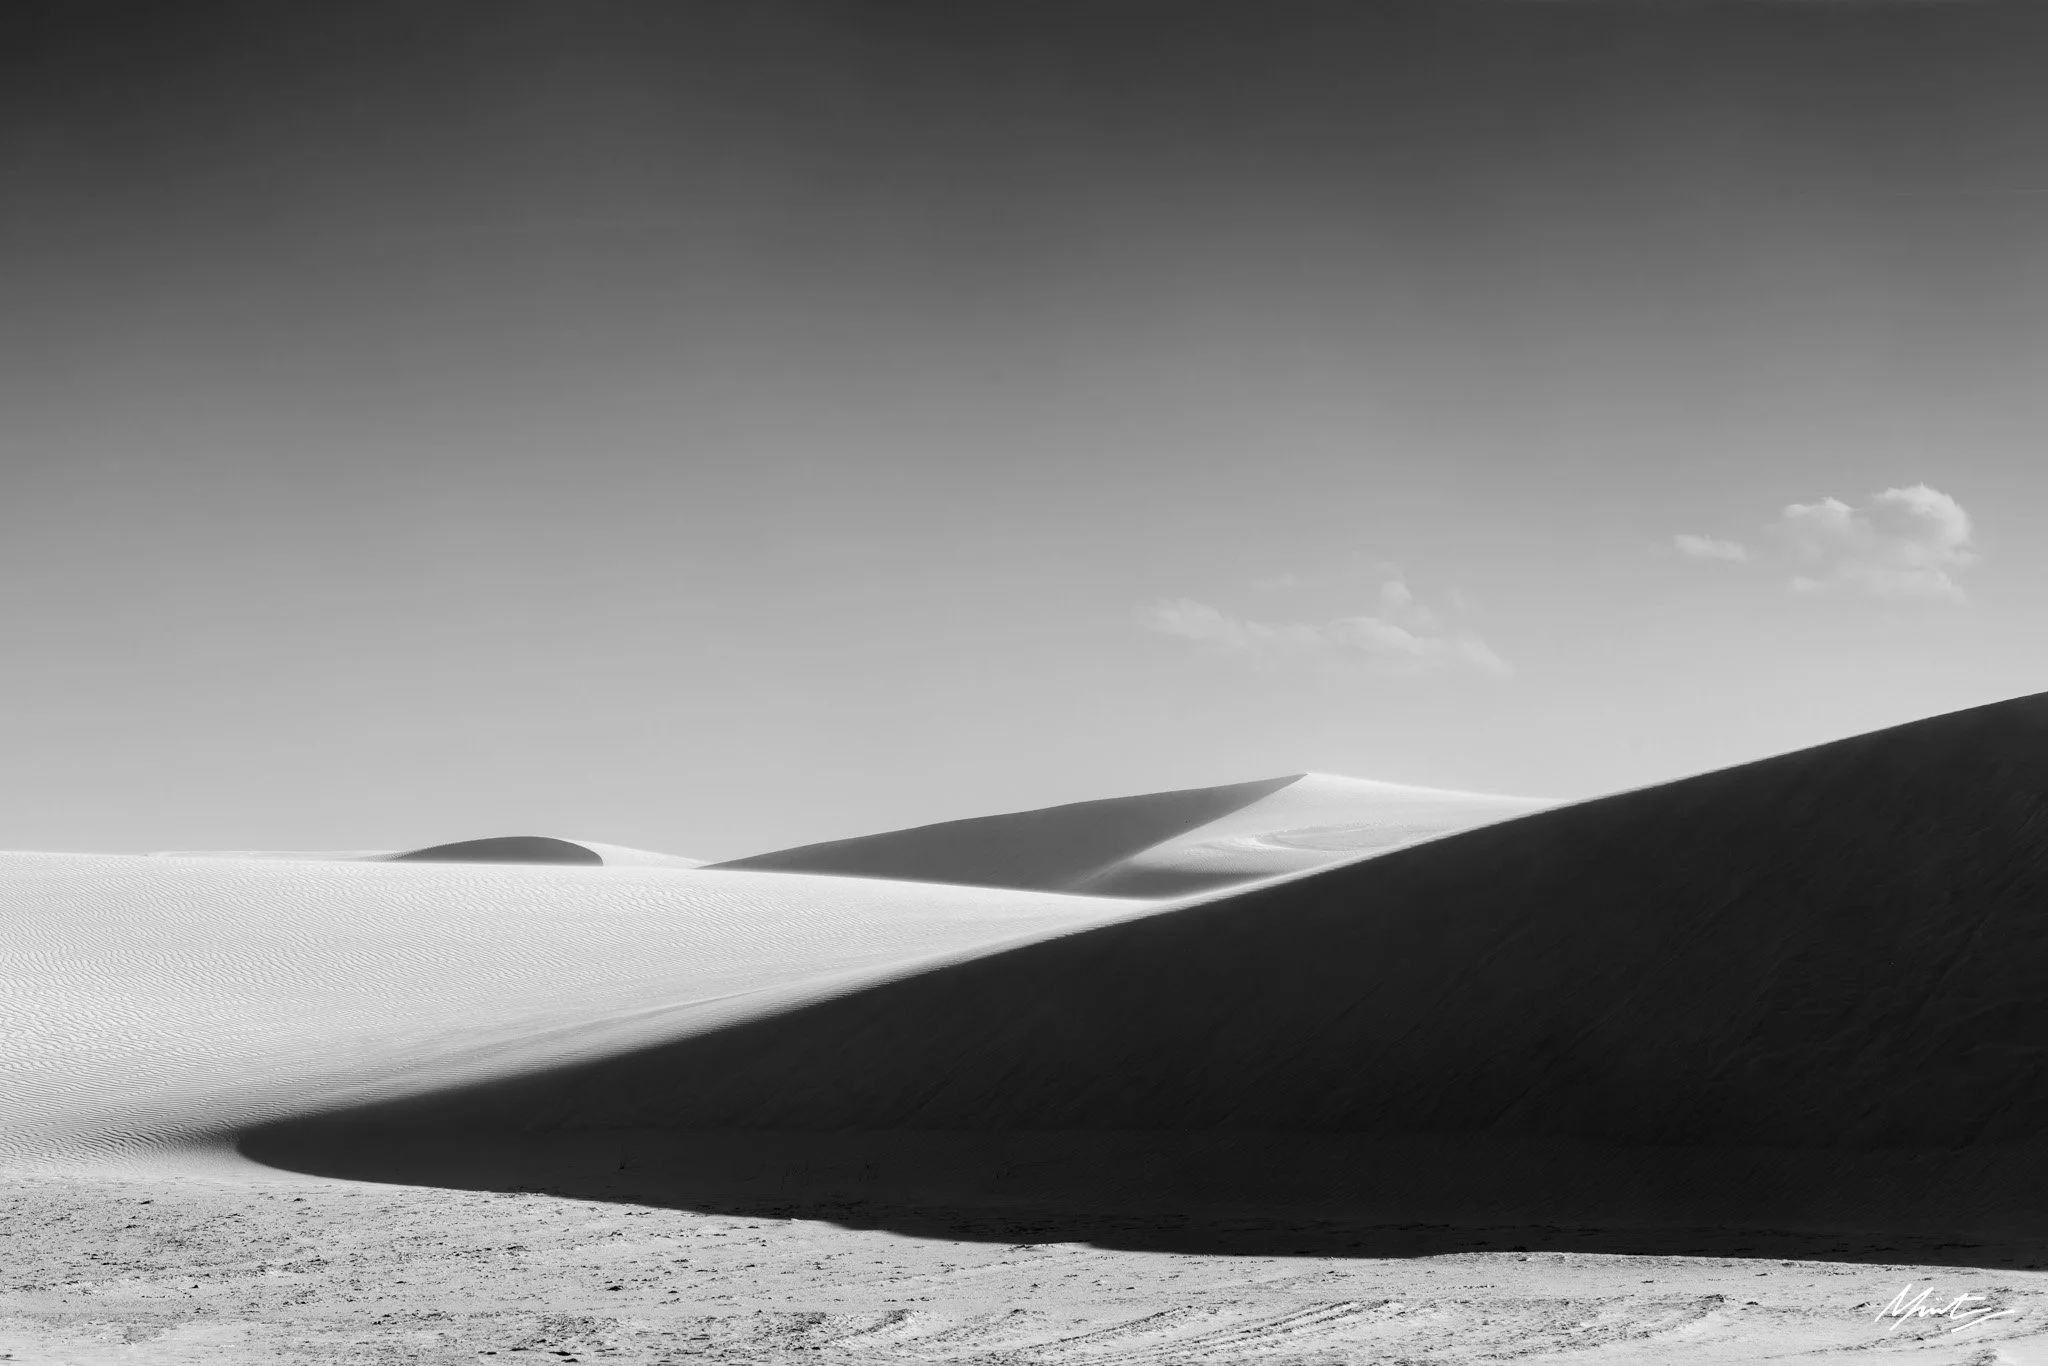
Dune Shadow in White Sands, @118mm
If you would like to join me to learn more about photographing dunes and desert environments, I am leading a number of upcoming workshops which do just that!